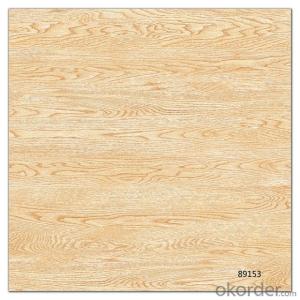

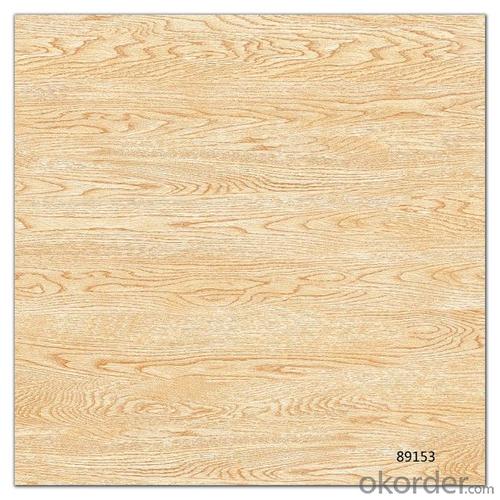
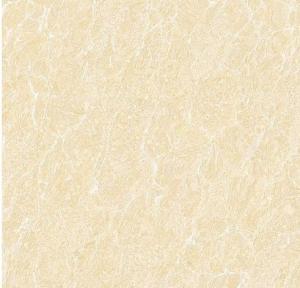
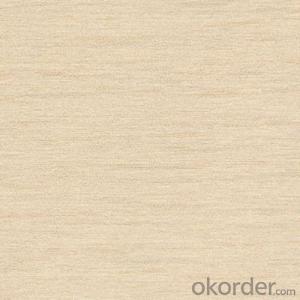
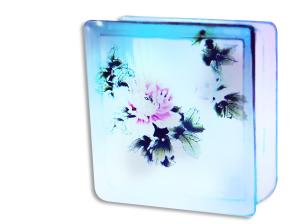
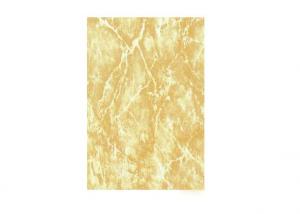
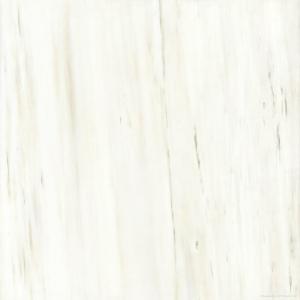
Polished Glazed Tile The Wooden Line Stone CMAXSB1400
- Ref Price:
-

- Loading Port:
- China main port
- Payment Terms:
- TT OR LC
- Min Order Qty:
- 1325 m²
- Supply Capability:
- 10000000 m²/month
OKorder Service Pledge
OKorder Financial Service
You Might Also Like


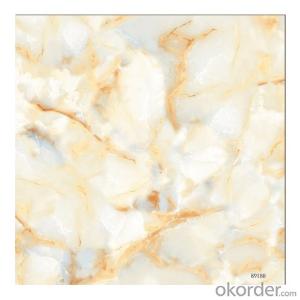
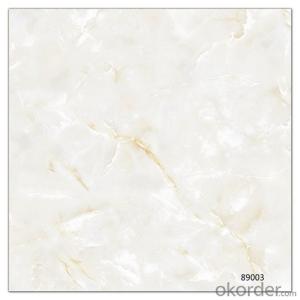
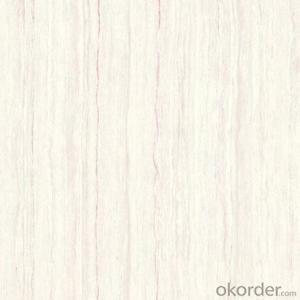
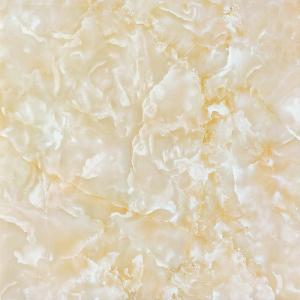
Key Specifications/Special Features of Glazed Tile :
1. Material: glazed porcelain
2. Antique feel, Metal Image
3. Low water absorption
4. Strong in hardness
5. Coordination in color and luster
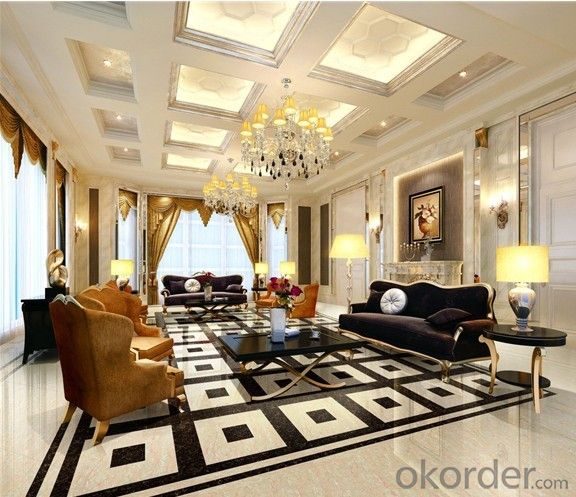
6. Usage Area: home, office, hotel, government and corporate projects, flooring tiles, deluxe clubs flooring
7. Style: simple, classic, elegant and splendid in color
8. Good in abrasion and chemical corrosion-resistant
9. Resistance to thermal shock
10. Available in various sizes and colors
Primary Competitive Advantages of Glazed Tile:
1. All product of rustic ceramic tiles are of top grade AAAA
2. CE certificate, ISO9001:2008 and ISO14001:2004
3. OEM accepted.
4. Speial dimensions available according to your floor tiles request.
5. Best Quality with best price, strictly quality control.
6. On time delivery, in general 7-10days.
7. Best after sale service, customer can follow their porcelain tiles order situation any time. no matter on product line, warehouse or shipment.
Main Export Markets:
1. Asia
2. Australasia
3. Central/South America
4. Eastern Europe
5. Mid East/Africa
6. North America
7. Western Europe
Specification:
Tile type: | Ceramic tile |
Material: | Porcelain |
Size(MM) : | 600x600mm |
Thickness(MM): | 9mm |
Water Absorption: | ≤0.5% |
Color: | Available in all designs and colors |
Usage: | Used in floor |
Surface treatment: | Glazed surface |
Features: | Professional triple-burning in oven, which makes our tiles more excellent quality. |
Function: | Acid-Resistant, Antibacterial, Heat Insulation, Non-Slip, Wear-Resistant, Anti-fouling easy to clean |
Packaging: | 600x600mm: 4pcs/box,28kg/box,standard cartons and wooden pallets packing |
Remark: | All kind of designs can be produced according to your requirements |
Quality | |
Surface quality: | 95% tiles no defect from 0.8 away uprightly |
Breaking strength: | As require |
Resistance to thermal shock: | Without crack and flaw after 10 times anti heat shock test |
Brightness: | ≥55 |
Frost-resistance: | No crack or spalling after frost resistance test |
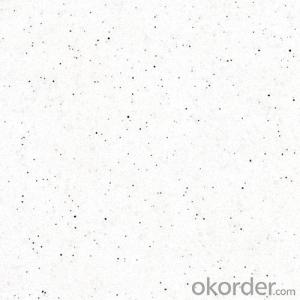
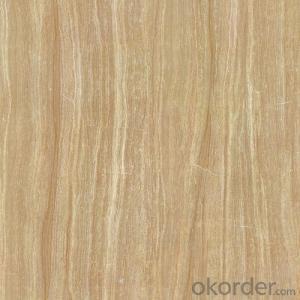
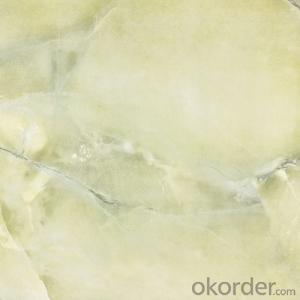
Product Picture:


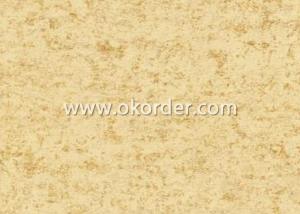
Packing Pictures


FAQ
1. For Polished Porcelain Tile, is the 30*60 available?
—— Yes, 30*60 is available. Due to the basic size is 60*60, we need to cut 60*60 tile into 30*60. 6 pcs are packed into one carton.
2. What is the MOQ for this tile?
—— Normally the MOQ is 1382.4 m2 for one 20’ container. To support our clients, we could go with 3 models to fill one container at most.
3. Can we use the carton with our own design and brand name?
—— Yes. Normally we go with Neutral Carton or our Carton with our CMAX brand name. But for carton of client’s own design, the MOQ for one size is 5 containers, due to the carton factory can’t arrange production if quantity is below 5000 pcs.
- Q: Just how long the renovation of the new house, my home bathroom tiles on the ground as long as the bath will be seepage, the investigation of the pipeline without problems, leaks are no problems, where the problem? Urgent to be resolved.
- Yes, your home wall is a permeable brick, you should be affixed to the 200 by 300 of the brick, that brick is permeable brick, and now posted a very troublesome, and you should use impermeable interior wall Brick, Hing Fai ceramic interior wall is completely impermeable, because I and several friends have used the family, when we go to see when the turn, do not understand anything, is the Hing Fai Purchasing Guide to do our experiments , So we chose Xinghui wall, installed out of the effect is really good, there will be no water seepage phenomenon. The first renovation, are so, do not know anything
- Q: I have broken tiles that i desperately need to fix ,but i cant seem to find a match for the existing tile , is there any place that make the tile for me?
- Maybe a pottery shop could possible make a close looking tile but it would still stick out like a sore thumb. You ll have to give them an exact measurement of the tile since most tiles are a nominal size( 12x12 are more often 11 3/4). Then you ll have to give them a sample pc of the tile to try and get color , texture and glazing close as possible.. This may not even be feasible for them to do. I would continue to search. If you could get me some details of the tile I d be gladly try and help you.(Exact size, manufacturer ,age, anything and every thing) Any questions you can e mail me through my avatar and check my qualifications there..GL
- Q: tile. any advice?
- A good quality floor tile will be fine, provided they are well supported underneath with no air gapes.
- Q: We have a hardwood floor in our bathroom, and because it gets too damp, we want to install vinyl tiles on top of the hardwood floor. But I cannot imagine vinyl sticking to wood - can it be done successfully? Any glue tips??
- If you put a vinyl tile on a hard wood weather you varnish it or seal it or any thing, The lines in the hardwood will telescope through and show right through the vinyl in no time.. Plus the natural expansion and contraction of wood will break the glue bond of the vinyl Any flooring questions you can e mail me through my avatar GL
- Q: The tiles were installed about 2 1/2 weeks ago, and we decided that we just cant live with the really wide grout lines that ended up gradually becoming huge. So we‘ll have to remove about half of the tile. Is it possible to remove and reuse these tiles? If so, what about the left-over thin set? Will it be stuck on the tiles? And what about the cement board under them? Is it reusable or easier to just replace? Thanks for any answers!
- This is going to be messy. Usually the tiles will break when removing them, if they were properly installed in the first place. Some tile may not break but the mastic will stick to either the tile or backer board. The mastic must be scraped off. Over all it would be simpler to just demo the old tile and start over.
- Q: Dongpeng tiles and Europe Shennuo which cost-effective
- First-line brand: First, the new Pearl Group: mainly in the mid-market positioning, has made the customer's recognition, the Group's crown beads, Samit, Gerees, Jin Chaoyang, Hui million, Louis modern, Monte Carlo, Bentley , And other brands and "Lippo" professional bathroom brand can be an economic brand Second, the Mona Lisa Ceramics: Mona Lisa ceramics, ceramic industry, the leader of thin tile, as long as the mention of the sheet will be remembered Mona Lisa, thin plate of the preferred brand Second, the new source of ceramics, the new Run into, Huiya ceramics, Hongyu ceramics and other medium brands Alas ceramic brand too much, not one by one, you can check the Internet
- Q: What is the drill bit?
- Ordinary glazed tiles can be hammer or dual-use drill with the impact drill, The tiles should be fitted with hand drill with glass drill.
- Q: are there any products made for removing grout off of tile because we forgot to clean the grout off of our tile and it dried over night and now its hard and is stuck pretty well. does anyone know of any acids or anything made for this?
- Just use a razor blade to carefully scrape it off. You don't need to buy anything special.
- Q: I believe the tiles were made in Mexico. They are light beige in color. They were installed in the master bathroom which has a shower stall, no bathtub.
- Hi, It's a matter of personal taste and how much you use the kitchen. I personally wouldn't put tile in my kitchen as I cook a lot and it is hard on the back and legs but I love it for my bathrooms. I personally have hardwood and you do need to take care of it but I love it. It is 13 years old and the only place it is showing wear is by the sink where I should have had an area rug.It has had a lot of traffic 2 kids and friends, 2 dogs and 2 cats. You need to wipe up spills. It is more forgiving when something is dropped than tile. I may get it refinished at some point but for now I just think it adds character. My girlfriend has linoleum and loves the easy care of it. I have seen people in her home reach down and touch it so it is a good quality and realistic looking. Friends have tile in their solarium that is heated and that is very nice but have hardwood in their kitchen. I prefer hardwood or tile as I like natural products. If I didn't spend so much time on my feet in the kitchen I might consider tile. Hope this helps and good luck on your renovation.
- Q: There are 5 red tiles, 4 blue tiles 3 green tiles. whats the probablitiy of reaching into the bag and getting a blue tile and then, without replacing that tile, reaching into the bag again and getting a red tile?
- 5+4+3=12 4/12=1/3 1/3X5/11=5/33 so, 5/33 is, if I am correct, your answer.
Send your message to us
Polished Glazed Tile The Wooden Line Stone CMAXSB1400
- Ref Price:
-
- Loading Port:
- China main port
- Payment Terms:
- TT OR LC
- Min Order Qty:
- 1325 m²
- Supply Capability:
- 10000000 m²/month
OKorder Service Pledge
OKorder Financial Service
Similar products


Hot products
Hot Searches

