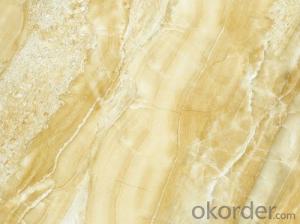

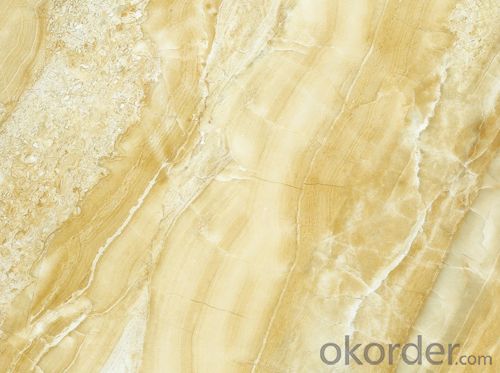
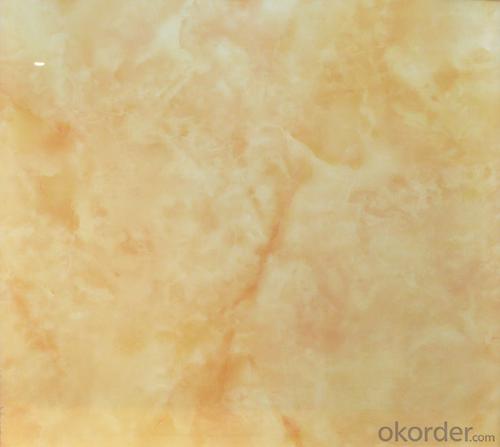
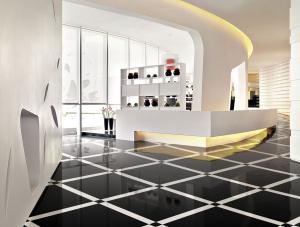
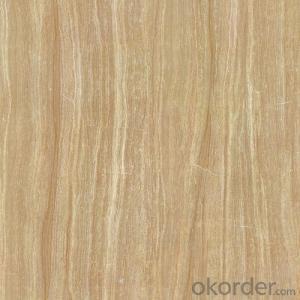
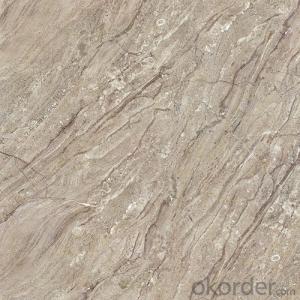
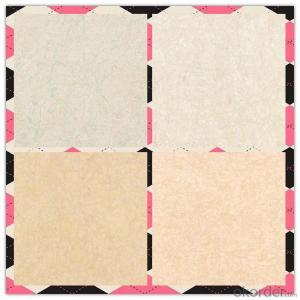
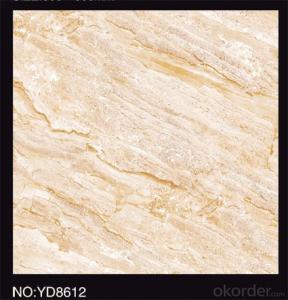
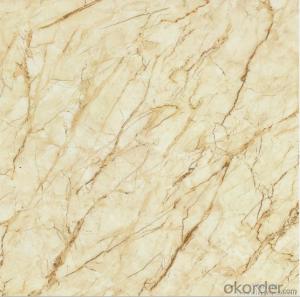
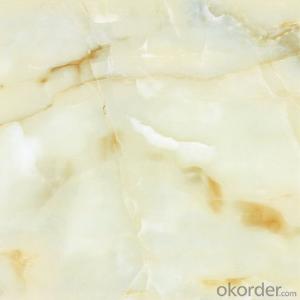
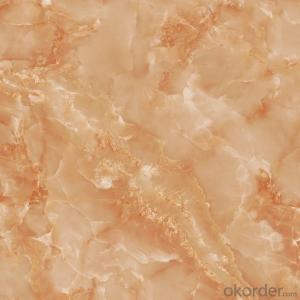
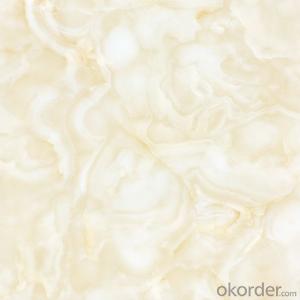
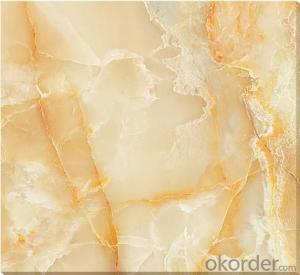
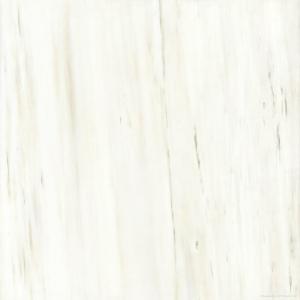
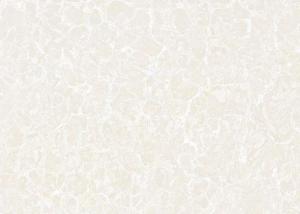
Digital glazd full polished tiles porcelain looks like marble prices 8006
- Ref Price:
-

- Loading Port:
- China main port
- Payment Terms:
- TT OR LC
- Min Order Qty:
- 1076 m²
- Supply Capability:
- 100000 m²/month
OKorder Service Pledge
OKorder Financial Service
You Might Also Like


Quick Details
| Type: | Tiles | Place of Origin: | Fujian China (Mainland) | Brand Name: | SLD |
| Model Number: | 8006 | Size: | 600 x 600mm,800 x 800mm | Material: | Porcelain Tiles |
| Usage: | Interior Tiles | Function: | Acid-Resistant,Antibacterial,Heat Insulation,Non-Slip,Firebrick,Wear-Resistant | Surface Treatment: | Glazed Tiles |
| Feature: | Glazed Metallic Tiles | Color Family: | Blacks,Blues,Browns / Tans,Grays,Oranges,Purples / Lavenders,Reds / Pinks,Whites,Yellows / Golds | Tile Type: | Floor Tiles |
| color: | polished | thickness: | 9.8mm | carton weight: | 30KGS |
| packing: | carton with pallet with fumigation | payment terms2: | L/C at sight | payment terms1: | 30% deposit,balance against the copy of BL |
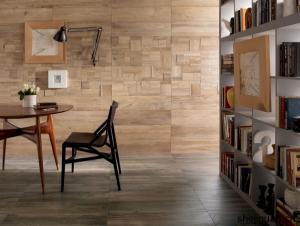
| surface color: | polished | finished: | 3d printing | Scope: | bathroom floor,kitchen floor ,living room |
| design: | we can do any design accord to customer need |
Packaging & Delivery
| Packaging Detail: | Carton with pallet 4pcs/ctn,30kgs 1.44m2/ctn 1900ctn/TEU about 1296SQM |
| Delivery Detail: | 20 days |
Specifications
1.Size: 600 x 600 mm
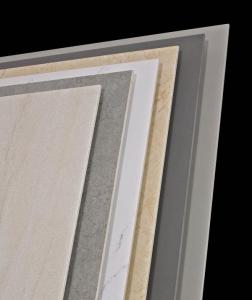
2.Thickness: 9.8 mm
3.W/A: E<0.5%
4.Picking: 4pcs/ctn
Inkjet Full Polished Glazed Ceramic Tile tiling
1. Product description:
Model No.: | 8006 |
Tile type: | Full polised galzed porcelain tile |
Material: | porcelain |
Size(MM) : | 600x600mm |
Water Absorption: | <0.5% |
Color: | Available in all designs and colors |
Usage: | Used in floor |
Payment: | T/T or L/C at sight |
Packing: | Packing: 4pcs/ 1.44M²/ 20KGS/CTN |
Surface treatment: | Glazed or polished surface according to difference material |
Remark: | All kind of designs can be produced according to our product list |
3. Product features:
1) Professional 3D inkjet floor tiles manufacturer
2) Anti-acid and anti-alkali
3) Durable
4) Pollution free
5) Easy to clean, easy to pave
6) Customize any design you like.
7) The most competitive price.
8) Easy to install, anti-dust
4. Packing list
Sizes (mm) | PCS/CTN | SQM/CTN | KGS/CTN | CTN/CONT | KGS/CONT | SQM/20GP |
600x600x9.8mm | 4 | 1.44 | 30 | 900 | 27000 | 1296 |
800x800x9.8mm | 3 | 1.92 | 43 | 630 | 27090 | 1209.6 |
- Q: I am looking at removing the existing wooden fire place surround (not a mantel, but some decorative wood surrounding the fireplace), and the 70‘s fireplace hearth, and replacing each with some nice slate tiles. The slate would be attached to the wall, and to the floor. Is there anything I should know when attaching (slate) tiles to a wall? Do I need to remove any paint, or can I get an adhesive that will bond (PL Premium or regular mortar mix?). How close should the grout lines be with slate? I know with marble you want them close, and with ceramic you can have some space. How do you ensure the tiles don‘t slip when attached to a vertical wall. Sorry for the questions, but I do appreciate any suggestions and answers!
- Only loose paint needs to be removed. If your paint has no chips or bubbles there's no reason to try taking it off. Your grout lines can be from 1/8 to 1/4' depending on your preference. Use a premixed ceramic wall adhesive such as Pro-Lastic, Pro-Flex, or Pro-Mastic Thinset. To keep tiles from slipping, simply start at the floor and work up, applying spacers between the tiles as you work. The adhesive will keep the tiles from falling off the wall, and the spacers and tiles below will keep them from sliding down. Some tiles come with built in plastic spacers for wall installation. It is possible for the tiles to sag a little so check with a level from time to time.
- Q: For a while now I have just used paper towels as a substrate for my 2 leopard geckos and I recently have been researching slate tiles as a substrate and I want to give it a try due to the positive feedback i‘ve seen on message boards and care sheets. Now, I have 2 10 gallon tanks that I would like to use but details are lacking from an online source.1. What measurements should i ask for when getting a piece of slate cut(for a generic 10 gallon tank)?2. Is there a certain thickness the slate should be for proper heat disbursement?3. How warm should the slate be allowed to get if i‘m monitoring it with a thermometer? I know I could measure out the tank myself, but I was just curious if there was a size that fit better than what a measurement would give me. Thank you for the feedback.
- I use slate tiles for my 3 geckos tanks. They work great. 1. A 10 gallon tank is generally 20in X 12in. Because not all the tiles are the same size I would go with cutting the tile slightly smaller to make sure they fit. So maybe 19 1/2 and 11 1/2. You will probably need 2 tiles for each tank so you could cut them anyway you want ( 10 and 10, 12 and 8, 6 and 6, etc. You can fill the gaps with sand later on. The 12 X12 tiles could be slightly smaller, slightly larger, or longer then they say. 2. No really, though you do want them to be fairly even in the tank. Most of my tiles are about 1/4 inch but I also have a layer of sand under the tiles so they are level even if the tiles are different thicknesses. 3. You want them to be warm but not too hot. Because leopard geckos use belly heat you'll want them about 88-90F. I would not let the tiles get over 95F though.
- Q: Will the home decoration tiles brand which are better? Can you tell me?
- In the brand: Omega, gold medal Asia, Jiada, Jiajun, Chun Shi, Jane, gold Italian pottery, Rome Leo, Europe and the United States, specifically, Vero, beautiful, silver whale, Italy, Diamond, gold rudder, fire east, Hong Tao, gold pottery masters, Monte Carlo, Xinghui, Samit, Shun Hui, the king, Wells, General, Grice,
- Q: I‘m going to be putting in a tile floor in my kitchen (all cabinets and appliances removed). I have done my research and have a good idea of what I will be doing - beef up the subfloor with plywood and lots of screws for rigidity; use cement based self leveler to correct a mild slope; install backerboard or decoupling membrane (not sure which yet) followed by the tile.I have a plan, but plans tend to fall apart after their first run-in with reality. Has anyone run into types of problems they don‘t talk about on DIY network? The types of problems complete the following kinds of sentences: are you f***ing kidding me? You have to do ____ before ___? or dammit, why don‘t they tell you you need [insert name of specialized gadget] on a product that cures in 10 minutes? or boy was I an idiot for doing/not doing [insert critically important but not obvious tiling procedure here].?Much obliged, and thanks for the responses.
- Before okorder /. You'll find video tips about tile installation as well as lots of useful information especially if you're installing kitchen glass tiles. Good luck!
- Q: There was actually only a tub there and no shower, so the walls are all plaster. I know that before I tile I need a different backerboard, meaning the plaster goes at least to a point. Any hints, tips, directions, and suggestions on how to do the job?
- You dont necessarily need to remove the plaster, but i would recommend removing it. cut the plaster out to half inch short of where you are going to tile to, so that the tile will lap onto the plaster a little. this will get rid of any patching, painting, ect. In the place of the removed plaster, install half inch cement fiberboard, costs around $10 per 3ftX5ft sheet. install with screws every 8 inches on each stud. use mesh tape in joints of fiberboard and float the joints with thinset. i would also recommend using a sealer that is specifically designed for cement fiber board under tile in the shower. dont remember the name off hand, but you can roll or brush it on and it turns bright red when it is dry. then use ceramic tile adhesive to set the tile on the walls. be sure to seal the grout joints in the tile after the grout has set for 3 or 4 days. 2 coats of sealer recommended. you can tell the sealer is working if you put a drop of water on the grout joint after the sealer has had at least 24 hours to dry, if the drop of water stays in a small bead shape then the sealer is doing its job, if the water drop soaks into the grout and darkens it, then the grout needs another coat of sealer. dont know if you are tileing the floor of the shower or using a shower pan , but that is a whole nother issue. any questions email me
- Q: I am planning on laying down tile in my dining room and kitchen. I recently saw an offset pattern with 12x12 tiles and liked it. I‘ve now decided to go with the same offset pattern but with 20x20 ceramic tiles. Would I still have to find the center of the room and start tiling out from the center or can I just start at one wall and go from there since i‘ll be using the offset pattern? Thanks in advance.
- Starting at the center is the only way, regardless if the tile is in line or offset as you plan. Especially with the 20x20. it would look odd to have a 2 tile on one side and an 18 tile on the other. Remember, there is a vertical plain as well as a horizontal plain. Your pattern, with two rows and spacers should be layed out wall to wall up down as well as right and left. That is an easy way to determine your first and second tiles. Mark those two tiles with a magic marker. A rough starting point is determined by measuring the length of the room, convert to inches then divide by 20. This gives you the number of tiles aprox.,divide this number by two (2) and set the first tile at aprox 1/2 the distance from the wall
- Q: We live in Phoenix and have a tile roof; most likely concrete tile. One of the tile on the lower level roof has somehow gone missing and I am trying to find one to replace it with. I don‘t think HD and Lowes sell roof tiles and I have tried to look up in yellow pages and am only finding roofing contractors. Where do you think I can just go and buy one tile. I won‘t need an installer as I can do it myself as it is on the lower level roof that I can access with a small ladder. Also tile is the one at the bottom so I won‘t need to climb up on the roof either :) Only logical suggestions are appreciated.
- you need to call a roofing supplier/ wholesale house. you wont get 1 tile, youll have to buy a stack, and its not expensive, if they have them in stock and if they will sell 1 bundle. you can also call your local contractors and ask them, give your tile style and color, like s or w or pots and pans, etc. its probably time to have some maintenance done to your roof anyway. i am a roofer. what they dont tell you when they sell you a lifetime product like slate or tile, is it still needs maintenance or it is going to leak. also dont know if you know or not, but never try to walk that tile, you dont know how, and you will leave a trail of broken tiles behind you.
- Q: is there another way to cut tiles ?i dont have a tile cutter , thanks
- Using a straight edge clamped down, a scoring knife,and tile nippers. Or use a Band saw or scroll saw using the appropriate blade, which would be a masonry blade. Bye
- Q: how to paint over tile
- 1) sand with a 80-120 grit sandpaper to get thru the glaze a little, unless the tiles look pretty ragged, then that finish is prob already worn thru 2) clean with a tsp type cleaner (avail from hardware store, looks like a mild carton) 3) if you dont do any thing else PLEASE PLEASE prime it with a decent problem solving primer ( zinzer 1.2.3 ? or whatever brand your local paint dept recomends) primer sticks, paint wears. they both have their jobs, dont skip one 4) paint with your fave colour in a highly washable 100% acrylic latex paint.
- Q: Hey!,I want to know how to make handmade tiles that you can paint and stuff....I need step-by-step instructions please !!
- In some measure it depends on how strong you want the tiles to be. Fired clay, in even a tile sense, is usually done at 3600 degrees in a kiln. Then cooled, painted/glazed/ etc. and fired again. At a decent pottery retailer you can find dozens of types of clay, and in fact some that is low fire, or even oven bake, which can be hand painted, and perhaps glazed over with a clear coat and no re-firing, but the strength and durability issue will still exist. Clay for tile, Ceramic or Porcelain, is slab rolled for consistency, Cut precisely, fired in kilns, cooled, then is decorated variously. Some larger houses will sell blanks that one can decorate themselves, even coffee mugs/cups/ bathroom sinks. etc. Obviously with a rolling pin and some risers, at 3/8 or 1/4, you could hand roll the clay and cut it, but then what? Below is a link for a general search to a company that can give you all the info you need in various methods and types of clay used. I spent a lot of $$$ with them in the early part of this decade. Steven Wolf Just my two sense
Send your message to us
Digital glazd full polished tiles porcelain looks like marble prices 8006
- Ref Price:
-
- Loading Port:
- China main port
- Payment Terms:
- TT OR LC
- Min Order Qty:
- 1076 m²
- Supply Capability:
- 100000 m²/month
OKorder Service Pledge
OKorder Financial Service
Similar products
Hot products

Hot Searches
Related keywords

