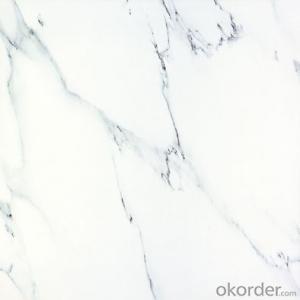
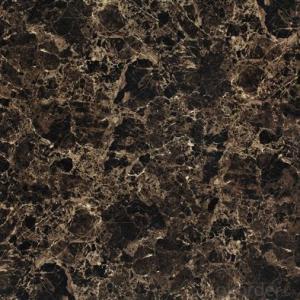
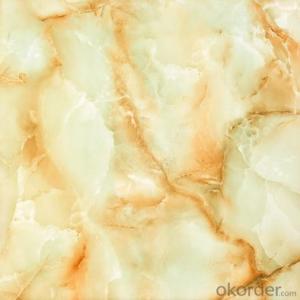

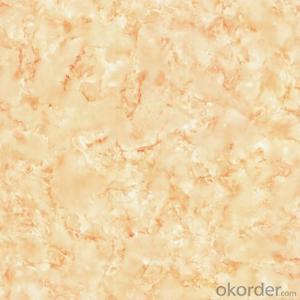

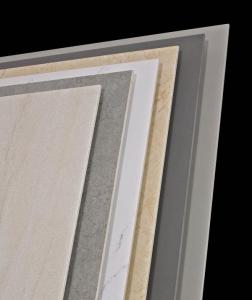
Super Glazed Porcelain Vitrified Tiles 4009
- Ref Price:
-

- Loading Port:
- China main port
- Payment Terms:
- TT OR LC
- Min Order Qty:
- 1200 m²
- Supply Capability:
- 10000 m²/month
OKorder Service Pledge
OKorder Financial Service
You Might Also Like


Quick Details
| Type: | Tiles | Place of Origin: | Guangdong China (Mainland) | Brand Name: | Sunshine |
| Model Number: | 4009 | Size: | 600 x 600mm,800 x 800mm | Material: | Porcelain Tiles |
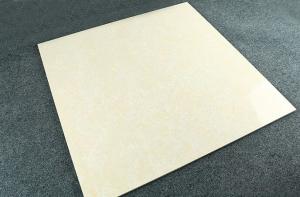
| Usage: | Interior Tiles | Function: | Antibacterial,Non-Slip | Surface Treatment: | Polished Tiles |
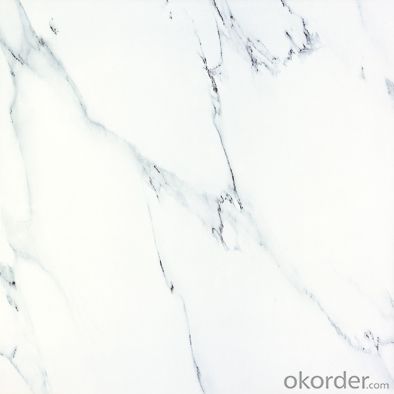
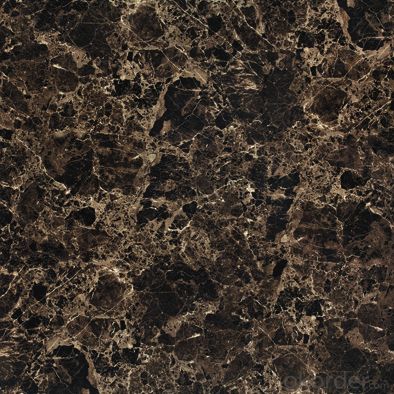
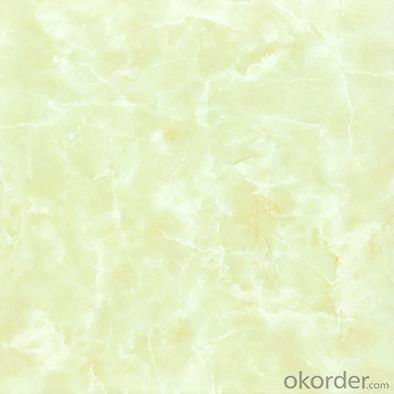
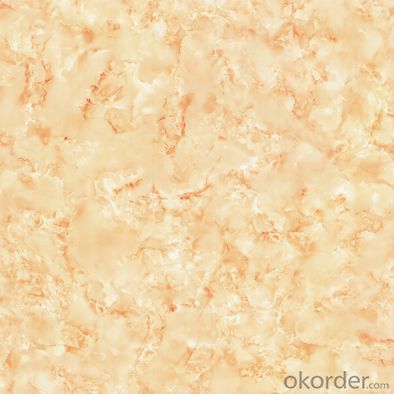
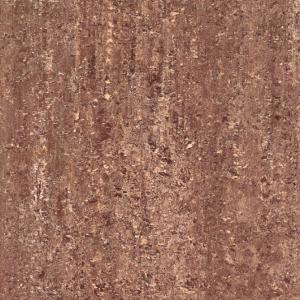
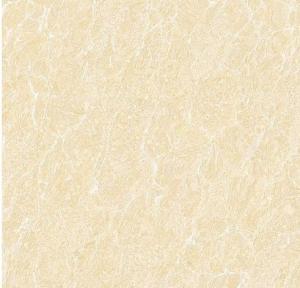
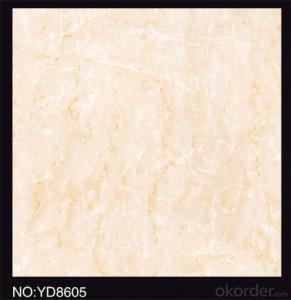
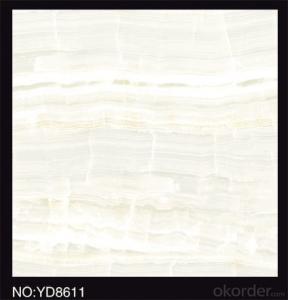
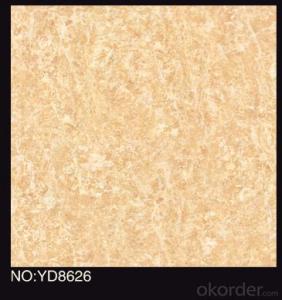
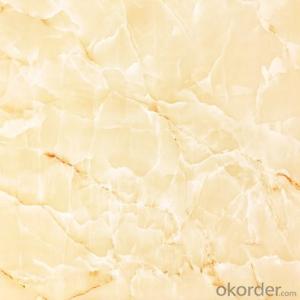
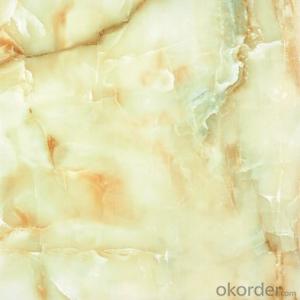
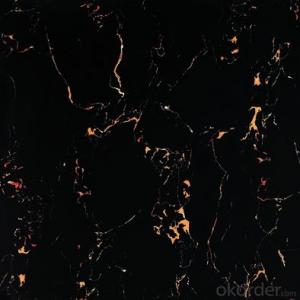
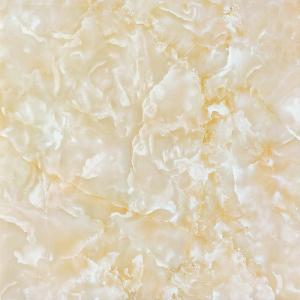
| Technique: | Vitrified Tiles | Tile Type: | Floor Tiles | Color: | beige ,black ,white |
| Thickness: | 9.5mm | Water absorbtion: | <0.5%< p=""> | Design: | Various |
| Type details: | Polished Porcelain Vitrified Tiles With Price | Delivery time: | Quick ,on time |
Packaging & Delivery
| Packaging Detail: | White carton with wooden pallet with fumigation in 20'GP container |
| Delivery Detail: | 15-25 days after receiving deposit |
Product Description
Product Types:
1. Spot Feeder Porcelain Floor Tiles Series,
2. Micro Powder Porcelain Floor Tiles Series,
3. Unpolished Salt and Pepper Porcelain Floor Tiles Series,
4. Polished Salt and Pepper Porcelain Floor Tiles Series,
The Advantage of Vitrified Tiles with price:
1.No Radioactivity.
2.No color difference.
3.Low water absorption.
4.Resistence to bending strength.
5.Resistence to fading ,discoloration.
6.Glazed surface ,top grade quality.
7. Equipment from German and Italy.
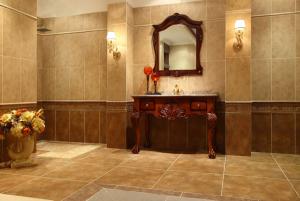
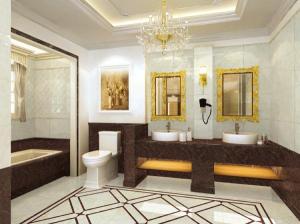
8.It is good for house decoration of interior flooring and wall tile bulding materil , kitchen wall tile building materils ,bathroom wall tiles build material ,Balcony ,super market ,house design ,shopping mall ,warehouse construction material
- Q: I purchased a DIY tile backsplash kit which costs originally $134.00. Kit includes 15 sq feet of tile, grout and tools needed to install. Lowe‘s sells the kit. The problem is the color is not the color I need. So I have this bright idea to paint the tile the color I want. I only paid $40.00 for the kit. I called one of the paint suppliers and they told me a spray paint I could use for the glass tile, however, I am afraid tha after I paint the tile, install it and then add the grouting, it may take the paint off!. I don‘t know, if it would or not. I was thinking I could spray polyurethan over the tile before I grout it or would that work? Not sure what to do. This kit is a new method for putting up a backsplash in your kitchen. It is actually peel and stick and then you must grout within 2 hours.
- Take the kit back and do it the RIGHT way
- Q: Specifically wall tiles in a bathroom
- I have tiled a lot. I've used both mastic and mortar, but if you plan to use mastic make sure it's the kind for floor tiles. Next, find the center of the room. Mark a chalk line each way. Put down whatever you are going to use to adhere the tile. Place the tile. Make sure it's firmly in place, jiggle a bit but make sure it ends up square. Use the tile spacer of choice (size equals amount of grout) and repeat the process. Remove tile spacers once tile has set but not too long as it will stick too. Let tile set and then grout. Make sure you clean up the grout from the top of the tiles or it will set and ruin the tile. Follow the instructions on the grout carefully. Make sure the sponges don't have too much water in them. It sounds hard, but it's really not. Just time consuming.
- Q: Is it possible to remove just the top row of the ceramic tile on my bathroom walls without damaging the remaining tile? I‘d like to replace the top row with glass tiles for a more updated look.
- It is possible, but be prepared to replace the entire thing. Hammer and chisel is the only way.
- Q: Has anyone every used Ceramic Tiles to re-do bathroom floors? I‘ve seen it done on HGTV but just wanted to knw if it was really that easy?
- My husband did our bathroom floor in ceramic tiles and he did a good job for not having tiled before. If you do it, make sure you get a grout sealer. I didn't do this and the grout turns brown and I have to scrub it once a week!
- Q: Easiest way to remove stick tile
- I used a 3 putty knife.
- Q: I am installing 4x4 ceramic tiles on a shower wall. I have been using a 1/4 x 1/4 sq. notch trowel, but am having trouble with the tiles staying put...should I use a 3/16 x 5/32 v-notch trowel instead?
- Mike and Rob are correct - 1/4 square notch for a 4x4 tile. A 4x4 ceramic is a pretty light tile, if they're not sticking, there's an issue with your technique. You should be using a modified thinset (do NOT use pre-mixed (the stuff in a tub) thinset - it's actually a water-based adhesive and it will NOT last in wet areas ), mixed to the consistencey of peanut butter. A common DIY'er mistake is to mix their mortar too wet. First apply the thinset to the wall with the smooth edge of the trowel and work it back and forth a couple times. This keys the mortar into the backer board (you are applying over cement backer board, right?) for good adhesion to the wall. Then using the notched edge, held at a consistent 45 degree angle to the wall, remove the excess mortar. And work in small sections - with 4x4 tiles, apply the thinset in 2' squares -- otherwise the thinset will set up (and loose adhesion) before you get all the tiles in place. Small batches goes for mixing the thinset, too. Check the label, but most thinsets have a 1-2 hour pot time (how long it can sit in the bucket before it sets up) -- exceed that and the mortar will loose it's adhesion and the tiles won't stick. You can simplify wall tile installation by screwing a starter board to the wall (1x2 or strip of plywood works well), 3-4 courses up from the floor. This will support your first course, and tile spacers will support succesive courses. Then remove the board and finish up the bottom courses.
- Q: I have travertine tile in my bathroom that apparently wasn‘t sealed properly. Now it has water stains that are visible when viewed from an angle. It‘s ugly and I can‘t get rid of them. Any suggestions?
- Try steam cleaning
- Q: When tiling a counter top, do you need to remove the existing covering? I am assuming that I would. If so, should I apply the tile directly to the plywood? Will the plywood be wide enough?
- This is a litttle tricky to answer because I can't see what you have to work with. However, here is how I do it. Remove all of the old counter top down to where you can see down into the cabinets below. Then I use 3/4 inch thick plywood. It doesn't have to be the sanded kind because over the top of that I put a layer or the thin 1/4 inch tile backer board, sometimes called Miracle Board or Cement board. Be sure to counter sink the screw heads just below the serfice or you will have problems seating your tile. I always try to size my top at this point so I don't have to cut many tiles. Every situation is different so you have to do some figuring at this point. I always lay my tiles out dry to see how they fit first. Then you must think about the edge trim that will go around the outside edge of the counter top. I use oak but that also depends on what style you are doing but none the less something must incaplsulate the tiled area. Use the little tile spacers at the corners of the tiles to get an even fit. They are shaped like an + and are cheap. Most home centers have guides for free that have good info, take advantage of that. I wish I could send a picture of my island top. Just looking at a picture helps alot. Also, use the pre-mixed latex adhesive to put them down, much better and don't forget to seal the grout when it is dry. Good luck!
- Q: the tile is like a plastic what can i use to renstall the tile it is on the wall in the shower how long do i have to let the wall dry before putting tile back up and how long will i need to let it dry before using the shower again
- The okorder
- Q: How to remove paint from wall tile in our 1929 home? Floor tile is original and in excellent shape. Help?!?
- Its probably real enamel and if so,will be bonded very tight.Paint remover,steel wool,and a scraper might be your only help,but depends on the tile as to if this will scratch it.They make rotary paint removers that attach to a drill and little wires slap the paint off.I think they make a plastic version of these for easily damaged surfaces.There are hot air paint remover guns that might help also.Might be easier to repaint the tile to a blank color that matches your current color scheme,then try your hand at hand painting flowers on some of them as an accent.Be creative.Hope this helps..
Send your message to us
Super Glazed Porcelain Vitrified Tiles 4009
- Ref Price:
-
- Loading Port:
- China main port
- Payment Terms:
- TT OR LC
- Min Order Qty:
- 1200 m²
- Supply Capability:
- 10000 m²/month
OKorder Service Pledge
OKorder Financial Service
Similar products

Hot products

Hot Searches
Related keywords

