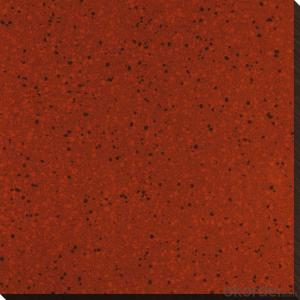


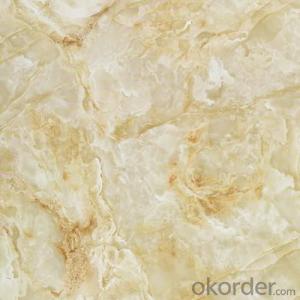
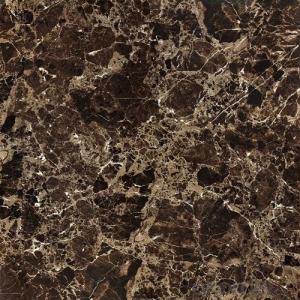
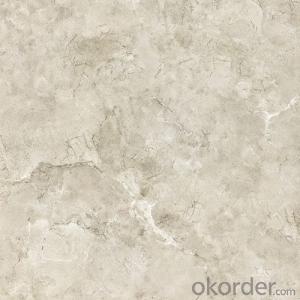
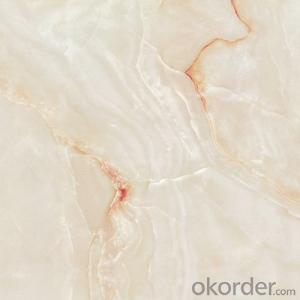
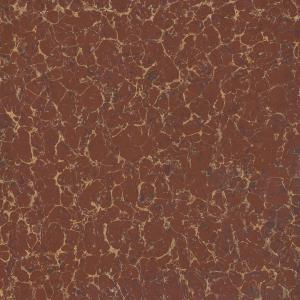
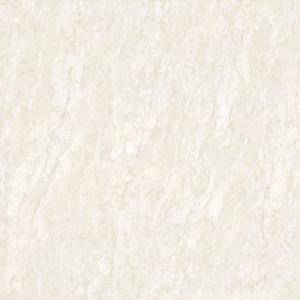
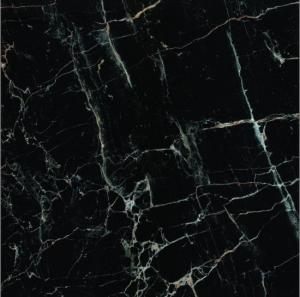
Red Color Polished Porcelain Tile from China
- Ref Price:
-

- Loading Port:
- China main port
- Payment Terms:
- TT or LC
- Min Order Qty:
- 1324 carton
- Supply Capability:
- 132400 carton/month
OKorder Service Pledge
OKorder Financial Service
You Might Also Like
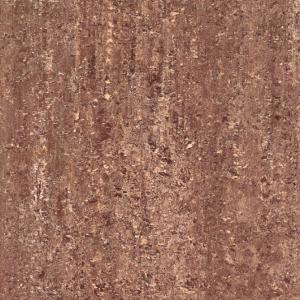


Specifications
1.ceramic wall tile, bathroom tile, bathroom wall tile
2.Bath tile
3.kitchen tile
4.CE & ISO9001
5.Grade AA
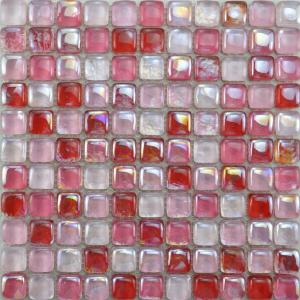
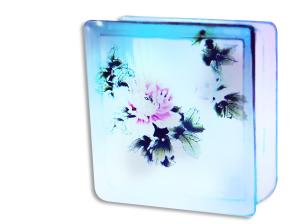
3D ceramic wall tile
Product Description
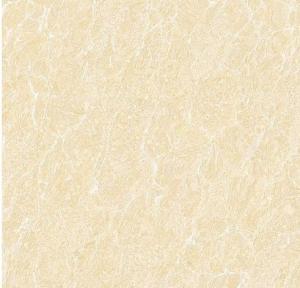
Detail product description: | |
Model no: | CMAX 1005 |
Tile type: | 3D ceramic wall tile |
Material: | ceramic tile |
Size(MM) : | 300*300mm,300*450mm,300*600mm,330*330mm,240*660mm,400*800mm |
Thickness(MM): | 7.5-8.5mm |
Absorption: | waterproof ceramic tile |
Color: | Available in all designs and colors |
Usage: | Used for wall and floor, widely used in kitchen, bathroom, living room, and so on. |
Surface: | polished / matt finshed |
Certificate: | CE & ISO9001, Soncap, Test |
Function: | Acid-resistant, antibacterial, non-slip, wear-resistant |
Packaging: | standard cartons and wooden pallets packing |
Delivery time: | Within 20 days after received the payment |
Payment terms: | L/C,T/T,D/P,D/A |
MOQ: | 500 square meters |
Supply ability: | 10000 square meters per day |
Usage area: | Interior & exterior floors & walls, inside and outside, bedrooms, hotels, schools, supermarkets and lobbies |
Remark: | For more information of our products please kindly visit our website or contact us by email.bettyben@okorder.com |


- Q: My husband ( yes...the one with the dents in his head from the cooker hood ) is fixing rustic tiles in my kitchen. He has done loads of tiling with plain tiles ( i.e straight edges!!) but we're wondering about spacing these with irregular edges. Very little advice on the web apart from to space them more widely which doesn't really help! Anyone done this and pleased with the result?
- Yes me and my husband did our kitchen with these tiles. We didnt use spacers at all but trusted it to the eye. We left a 5 mm gap where the straight edges were. I really am a perfectionist and I thought I wouldnt like the effect but when the tiles were grouted in they were absolutely fine. I think those with a wavy edge are perhaps more forgiving for DIY people like us. You dont say whether yours are floor or wall. Ours are floor tiles by the way. Good luck!
- Q: so i was wanting to lay some ceramic tiles down in a small room. right now in the room i think theres vinyl tiles and they r laid right on top of the pplywood floor. so im just wondering am i able to just lay the ceramic tiles right on top of the plywood floor after i tear up scrape up the old floor? any advice?
- Kat and Kevin, It is not absolutely critical to put down material over the plywood before tiling. It's just better to do so. Nowadays, most people use backer board on top of the plywood. This is because backer board doesn't shrink or swell due to changes in moisture content. However, I've seen and done tiling directly over plywood in the past. This is done when customers are on a strict budget. In most homes built with plywood sub floors, tar paper is usually used between the two layers of plywood sub flooring. This acts as a moisture barrier and prevents the bottom layer and floor joists from being exposed to moisture. (I have seen tiling work done directly over plywood and it has lasted, without cracks in the gout, for 20 years). Having said that, it's best to lay down something like backer board. Increasing the height of your floor can be a problem with any addition to the plywood sub floor. Sometimes doors or other items can be affected by the increased height. You can also use different thicknesses of backer board to prevent too much height, while still using the board.
- Q: I have asbestos tiles in my basement (of a home I recently purchased). I sent them off to a lab for testing. The lab results came back 4% asbestos. I definitely want to remove the tiles. The majority of the tiles are in good shape. Some of the corners on a few of them are cracking. Right now I am considering the DIY vs. hiring the pros for removalI have been given conflicting advise thus far. Some say do it yourself, there is a very low percentage of asbestos in your tiles -- 4%. Others say Don‘t risk it, pay for the peace of mind. Here are my questions: Is 4% a low percentage for asbestos tiles? Is this low enough to be trivial or of lessor concern when taking on DIY removal? The pros quoted me $1300 for removal and an additional $275 for an air quality test/certification. Is this a fair price for about 500 square feet of tiles? Is air quality testing really necessary given the low percentage of asbestos in my tiles? Or, are they just making money off the fear and hysteria around asbestos?
- Tile Removal Cost
- Q: I live in a split level 3 story house, the outside of my house is concrete, the walls inside are concrete and the floor is tile. Several weeks ago the tile in our laundry room cracked, as if something was pushing up from underneath. This morning the exact same thing happened in our top story living room. We had tilers come out to re-tile and they said that this happens all the time, but the concrete underneath the tile was untouched and un-warped in any way. Please help? What can we do to fix this from ever happening again?
- 1. If there are cracks under the tile, the cracks will just keep happening. 2. I have had success in fixing this problem by using a rubberized carpet cement rather than the unforgiving thinset. The adhesive stretches rather than the tile cracking.
- Q: i have just bought a house and my ceiling tiles needs cleaning. i would like to know if anyone out there knows what i can use to clean them. the ceiling tiles has dust but also has mildew on some of them. i don‘t want to replace them, i just want to clean them for now. thank you everyone.
- Sarri is right, it depends on what they are made of. I had the ones that pop into a frame, they are plastic sheeting with some insulation. I took them down, I washed them with soap and water, and put them back dry. And it depends on what it is on them. If it is cig smoke, you either need dishwashing soap made for greasy dishes, or a strong cleaning solution. I used 409 on my walls. I used a swifter with pads soaked in 409 on my painted bathroom ceiling. It took a lot of scrubbing. Buy one of those soft bristle brooms meant for corners amd ceilings, those work well on the dust. The tiles in this house are porous, they seem to be made from some sort of stiff fiberboard. These I wiped off with a damp rag, bought some paint primer and gave them a nice coat, then came back with ceiling paint. They look great. And if they are badly stained, and need to be sealed, there are paints for that.
- Q: I need to re-set some tiles on a roof that have slipped and replace some others. Also, I need to re seal my flashing around my vents. What am I getting into, and how hard is it to work on tile roof?
- the tricky part to working on a tile roof is staying on it. and not cracking any additional tiles. usually when i repair a tile roof i set up scaffolding there are a bunch of reasonss . the tiles sre heavy and hard to handle on just a ladder, the scaffolding offers a nice work area, and most important its alot safer, you can go to any rental store and rent scaffolding, when resealing around flashing and vents use a rubber butyl caulk for longer durability
- Q: CAN I LAY TILE WITH NO GROUT LINES?
- No, it will not stay in place and gather dirt in the gaps. Go by the Home Depot Tiling book, it will answer all your questions.
- Q: is it fine to set ceramic tiles over existing vinyl flooring?would it be better to use mastic or mortar?how to prepare such a surface?tia
- Strip the floor down to the plywood or whatever it's made of. Use a level to see if the floor needs to be leveled out. Then set the tiles and use mortar.
- Q: and didn‘t seal the floor or grout. Now they are dirty, how can I clean them so they look new, then seal it? I have grout sealer, do I need to seal the tiles also, they look to be sort of porous?
- either the tile cleaner or steam cleaner already mentioned previously will work fine. if you have a porous tile such as travertine or tumbled stone, it will need to be sealed as well as the grout. depending on traffic and the brand of sealer, i would recommend resealing it every couple of years. if stains can penetrate, so can moisture. moisture is unsealed tiles worst enemy.
- Q: This tile in my kitchen became loose a while ago and today I decided to try to fix it but not sure what to do. As you can see from the image link, a fair amount of concrete has come off with the tile. I suppose I can‘t re-use this tile. I have a spare one available. What I need to know is what product do I use to fill in the hole? Should I try to get out all the old concrete stuff first?
- Sockies, this is actually an easy repair. The first responder suggested liquid nails. Don't even consider that. If you have a matching tile available, use that in lieu of trying to clean off the tile. First off, it looks like the tile came loose based the non-continuous thinset on the bottom of the tile. If that is the case (which is probably the cause), you want to fill in under the tile with thinset, so the entire area where the tile sets is filled solid from the sub-floor to approx. 1/8 below the bottom of the surrounding tiles. You should remove the existing thinset where the tile will set. You can do this with a brick or masonry chisel. If a little remains at the perimeter, that will be fine. Trying to remove all of it flush with the surrounding tiles may result in loosening additional tiles. You don't want that. Allow about 5-6 hours for that to set (harden) enough to set the tile. You don't make it flush because you will spread additional thinset on the underside of the tile to set it. Use a 3/8 notched trowel to spread the thinset on the entire surface of the bottom of the tile. Place the tile keeping an even spacing from the tile to the surrounding tiles You want the grout joints to be the same size all around. Press down over the entire surface of the tile to ensure it embeds completely and is flush with the surrounding tiles. Allow it to set overnight and remove any thinset that will impede the grout from obtaining 1/4 depth. It's not necessary to make the grout the full depth of the tile. It's imperative to remove any loose grout prior to grouting. That's it. I suggest buying thinset that comes in the bag that you mix with water. Don't make it too soupy when you mix it. The thinset and grout need to (what's called) slake during the mixing process. It simply means you mix it, allow it to set 5 minutes and remix it, and it's ready to use. The bag will have those instructions on the back.
Send your message to us
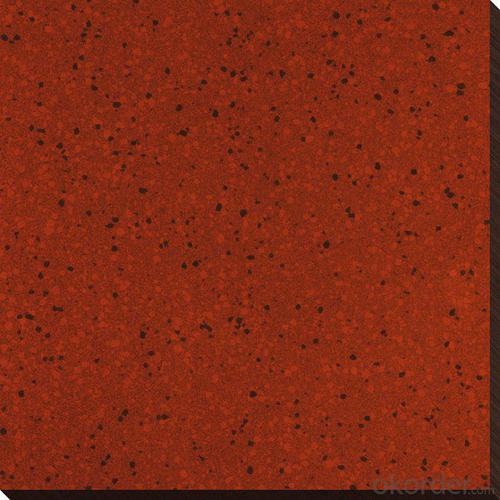
Red Color Polished Porcelain Tile from China
- Ref Price:
-
- Loading Port:
- China main port
- Payment Terms:
- TT or LC
- Min Order Qty:
- 1324 carton
- Supply Capability:
- 132400 carton/month
OKorder Service Pledge
OKorder Financial Service
Similar products

Hot products
Hot Searches
Related keywords

