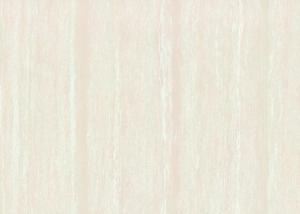


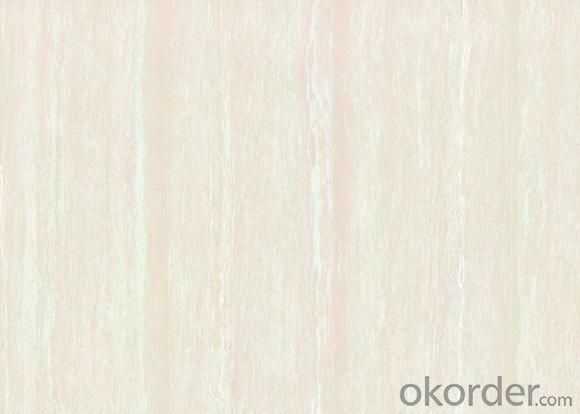

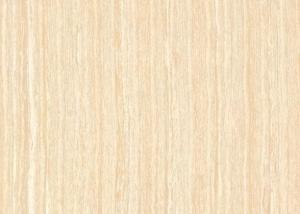
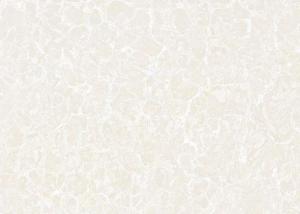
Polished Porcelain Tile CILO38A17
- Ref Price:
-

- Loading Port:
- China Main Port
- Payment Terms:
- TT or L/C
- Min Order Qty:
- 1 x 20' FCL m²
- Supply Capability:
- 100000 M2 Per Month m²/month
OKorder Service Pledge
OKorder Financial Service
You Might Also Like
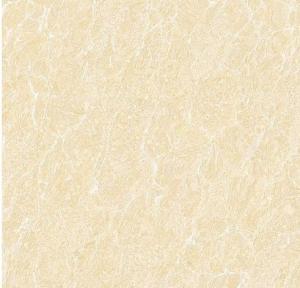

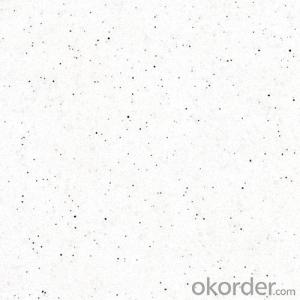
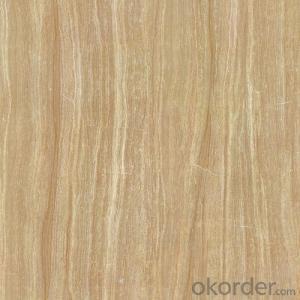
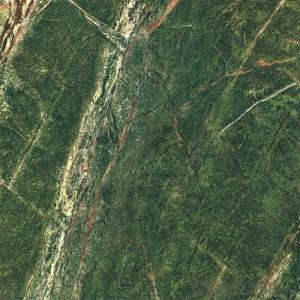
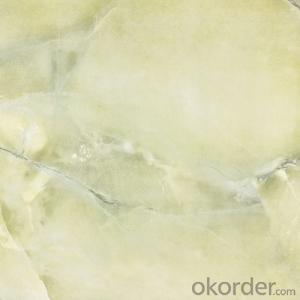

Basic Information of Polished Porcelain Tile CILO38A17:
1.Size:60x60/80x80cm tile
2.Certificate:CE ISO
3.W.A.<0.5%
4.Material:Porcelain
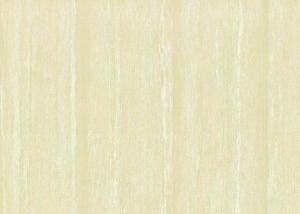
Features of Polished Porcelain Tile CILO38A17:
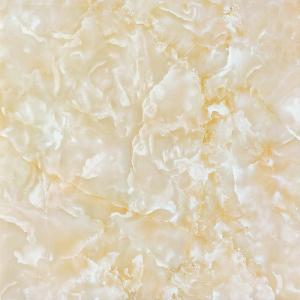
1. Size:600*600mm;800*800mm Porcelain tile
2.Various colors are available;Fashion and elegant pattern tile
3. Usage: use in Inner Floor.
4. Engobe(water proof)
5. Certificate:CE;ISO;SONCAP
6.Tile Minimum order: 1x20'FCL (items we have in stock can be mix loading)
7.Delivery Time : within 25 days after received 30% payment by TT
8.Payment term: L/C; T/T, 30% deposit, balance paid before loading.
9.Packing: standard carton with wooden pallet or per customers' request
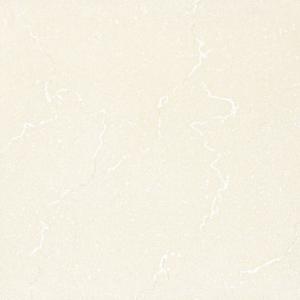
Specification of Polished Porcelain Tile CILO38A17:

Normal Size of Polished Porcelain Tile CILO38A17:
600*600mm,800*800mm
Advantage Of Our Factory:
1.Very Competitive Price:
2. High Quality
3. Immediate Response
Main Export Markets:
Eastern Europe
North America
Mid East/Africa
Central/South America
Asia
Western Europe
Australia
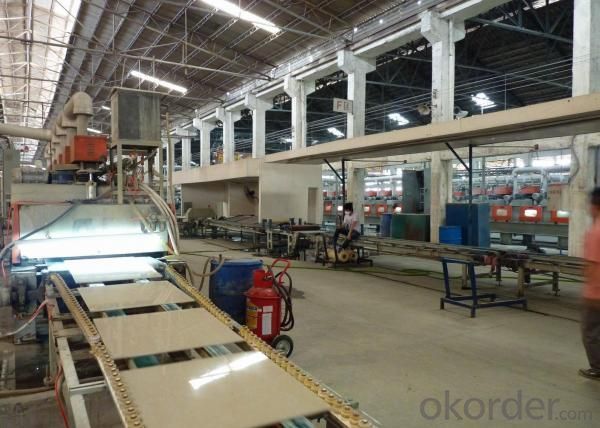
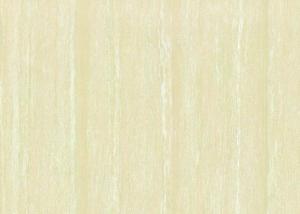
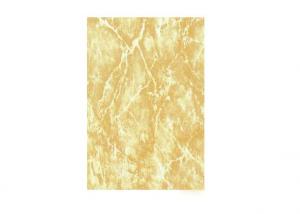
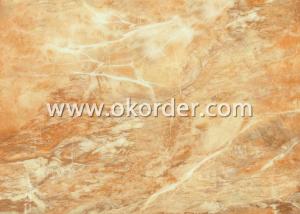
Production and Packing Pictures of Polished Porcelain Tile CILO38A17:


- Q: Why the new tiles are double? What material, so good?
- Process: Ingredients - Ingredients - Ball Pulping - Spray Powder Making - Pressing - Drying - Printing (Chemicals - Ingredients - Ingredients - Ball Mills - Burning → Polishing, Edging → Grading → Waxing → Packaging → Library
- Q: I have a new bathtub with Durock cement board installed around it and I‘m ready for tile. I just got a guy out to give me an estimate for doing the tile work around the tub and he said the Durock would have to be primed first. I‘ve heard you‘re supposed to put the tile directly on the Durock, not paint it. Now I don‘t know what to do. Is he wrong? If he‘s wrong, do I hire someone else or just question him? He did another (non-tile related) job for me and did an excellent job, so I trust him, but I‘m nervous about this. Any advice is appreciated. Thanks!
- I don't see how priming it would have any advantage. I tiled over some a couple years ago and have had no problems at all. I would think the adhesion would be in question if you are basically adding a layer of paint in between. You don't prime concrete before you lay tile flooring so why would you do otherwise to a cement board? I would ask him for is reasoning behind it. If it sounds like BS and a way to add some time to the job hire someone else.
- Q: I know granite is one, but what other less expensive kinds of tile are durable enough for countertops? Just bought the house so money is tight and granite,or even granite tile, is out of the question.
- If your budget is too tight to allow for a granite slab or tiles, you might have to go with ceramic tiles for now, and perhaps just get a slab of marble for part of the counter if you do a lot of pastry baking. (Marble stays nice and cool, to help keep the butter from melting out of your pie crust or puff pastry while you work it.) The cost of a granite slab may be no more than it would be for tiles, once you account for a tilesetter's labour to install the tiles properly. You might also consult with the kitchen design folks at Lowe's or Home Depot. They may have other suggestions not given here.
- Q: How to Clean Granite Tiles ? What are the best methods which can be used for Granite Tile
- Granite okorder / Safety Tips: Always use safety gear to protect your eyes, nose, legs, gloves. If you are using wet polisher, always read the precaution and safety tips of wet polisher. As it uses water and electricity, be careful.
- Q: I had a person re-grout the 4 tiles years ago. That person was a dufus and left some grout on the tiles instead of just in the grooves.. It is still there! How could I remove the small patches of grout from the front of the white tiles? As a point of information, the repair guy messed up by grouting ALL of the tiles when he first started. The grout drys so fast that it set up hard before it could be struck and finished and the excess washed off. The tile setter guy is supposed to do just a very few tiles at a time.
- Hopefully, all of your tiles have grout AND sealer. You can try plain ol' scrapping it off, but be careful not to scratch the tiles. Try using white vinegar to soften the grout, but be sure not to get any on the grout that you want to save. Use a small sponge, or even Q-tips. You may have to let it soak a few minutes. Also, try using a plastic scraper instead of a metal one, like a pan scraper. If you have any spare tiles, practice scraping to see if you're scratching the tile.
- Q: Trying to clean my kitchen's Ceramic tiles . Does any one know a good way to clean stain from Ceramic tiles and how to prevent it in future.
- Hi there, in my judgment Ceramic tiles are made from refined clay and other material. Maintenance is important through routine cleaning with mild soap and water. If you have some stains to remove, try a few of these suggestions to get your tile looking new again. 1.Clean the stained area with plain water and a soft cloth. Dry thoroughly. 2.Put on gloves. Use these to protect your hands even if the product is considered natural or non-toxic. 3.Mix borax and lemon juice together on a disposable plate or bowl. The consistency should be a paste-like substance. Rub onto the stain and allow it to dry completely. Rinse the ceramic tile with water and repeat until stain is gone. 4.Use a mixture of a vinegar and salt to make a paste. Apply to the rust stain and wait 4 to 5 hours and then rinse with hot water. Repeat as necessary. 5.Consider purchasing a Lustro Italiano cleaning kit. Apply to area with a moistened, soft cloth. This Lustro Italiano will remove the stain and not scratch surfaces. These are the steps you want to follows remove the stain from the tile. If you want more information visit the website I search it on a net it helps me a lot if you were interested visit the website which is given below.
- Q: I had asked the guy I am seeing to go somewhere with me tonight and he said he had to prep the floor before laying the tile? He has been working on a flooring job, but what do you do to prep a floor? Is this the same whether with tiles or hardwood?
- yes you have to prepare the floor that means if you are putting tile or wood you have to plain out the floor that the floor is straight so there is is no ups and down. what we call level the floor
- Q: It is in my kitchen , hall and bath. Is the reason that tiling is so expensive becasue of having to remove the old tile first?
- That's part of it. Rent a chipping hammer. They look like a big hammer drill and come with a 4 wide chisel. that will make short work of taking the old tile off. Work on getting the morter bed chipped downs smooth too. that will make the new tile floor easier to lay.
- Q: I only have a couple of tiles in my shower to grout. I bought some pre-mixed tile grout from Home Depot. It says on the back NOT FOR USE IN SHOWER OR UNDERWATER. I called home depot and they said it would work if I were to seal it. As many know sealer is very expensive and I‘m only doing a couple of tiles that will be exposed to water. Do I have to seal this? I understand there exist grout with sealer already inside.....
- You can get grout sealer in a small tube at Home Depot. If you don't seal these few tiles, you could be creating a larger problem for yourself down the road. Go for the expense, or risk doing damage to the backer board.
- Q: The 12 by 12 tiles were laid 7 years ago and nothing is different, but last October some of them over by the exterior wall of the house started tenting. There had been no more or less rain. What would make them do this?Here‘s some more info:-They started cracking in the part of the house that was added on.-The new foundation may not have been sealed.-My brother put them down and he tends to do a crappy job at best. He thinks they were cheap tiles.-I found traces of termites when I started pulling them up (seems unrelated since they‘re ceramic tiles, but one never knows...)Any advice on replacing them would be greatly appreciated!
- Tiles will crack for generally 3 reasons 1) Improperly prepared flooring - The floor needs to be sealed from moisture from below/exterior walls, and cleaned from any and all previous floor coverings (ie glues.residues from laminant or previous tiles). Highly recommended not to apply thinset to partical board or OSB as they call it here as the thinset aggravates the adhesives from the board. Best to use plywood. 2) Improperly applied tiles - There are specific thinsets for different floor coverings (ie, concrete flooring in basements, plywood, or even on top of existing ceramic floors) It is very important that the correct thinset is used, and that the application is uniform and complete underneath each and every tile. If there are air pockets under the tile, chances are very high they will break. 3) Cheap materials - You generally get what you pay for. Tiles at .60/sqft will break in your own hands. If you can snap the tile in 2 with your bare hands, how do you expect it to handle 200+ lbs. It sounds like it is possible that termites deminished the quality of the wood beneath the tiles, but you would be able to see yourself from the tile whether the tile let go from the thinset, or the thinset let go of the floor surface. If the bottom of the tile is caked with thinset, the problem is moisture in the floor (or your termites), if there is no thinset on the tile it was either not properly installed, or improper/poor thinset was used.
1. Manufacturer Overview
| Location | Guangdong, China |
| Year Established | 2003 |
| Annual Output Value | Above US$ 90 Million |
| Main Markets | 8.00% Mid East 15.00% Northern Europe 15.00% North America 12.00% Eastern Asia 10.00% Africa 9.00% Eastern Europe 20.00% Southeast Asia 4.00% Oceania 3.00% Western Europe 2.00% Southern Europe Mid East; Eastern Europe; North America |
| Company Certifications | ISO 9001:2008;CCC,CE |
2. Manufacturer Certificates
| a) Certification Name | |
| Range | |
| Reference | |
| Validity Period |
3. Manufacturer Capability
| a) Trade Capacity | |
| Nearest Port | Foshan, China |
| Export Percentage | 41% - 50% |
| No.of Employees in Trade Department | 20-30 People |
| Language Spoken: | English; Chinese; Spanish |
| b) Factory Information | |
| Factory Size: | Above 100,000 square meters |
| No. of Production Lines | Above 10 |
| Contract Manufacturing | OEM Service Offered; Design Service Offered |
| Product Price Range | High; Average |
Send your message to us
Polished Porcelain Tile CILO38A17
- Ref Price:
-
- Loading Port:
- China Main Port
- Payment Terms:
- TT or L/C
- Min Order Qty:
- 1 x 20' FCL m²
- Supply Capability:
- 100000 M2 Per Month m²/month
OKorder Service Pledge
OKorder Financial Service
Similar products


Hot products

Hot Searches

