
Low Price + Polished Porcelain Tile + High Quality 8E03
- Ref Price:
-

- Loading Port:
- Guangzhou
- Payment Terms:
- TT OR LC
- Min Order Qty:
- 100 PCS
- Supply Capability:
- 100000 PCS/month
OKorder Service Pledge
OKorder Financial Service
You Might Also Like
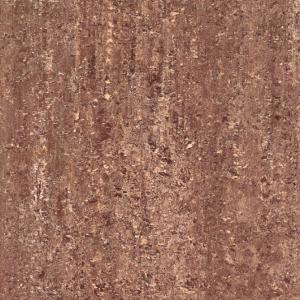
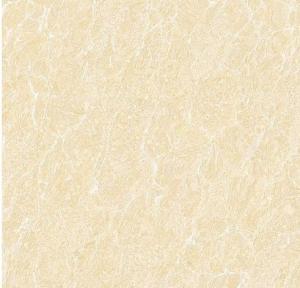

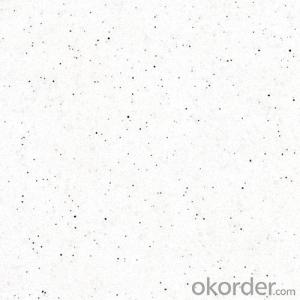
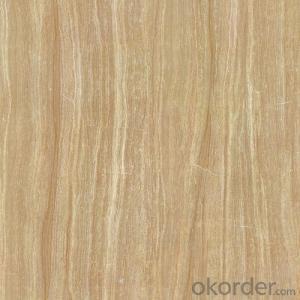

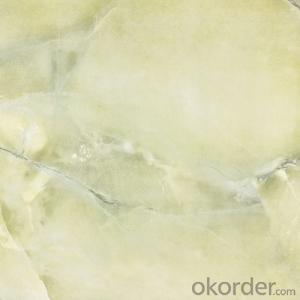


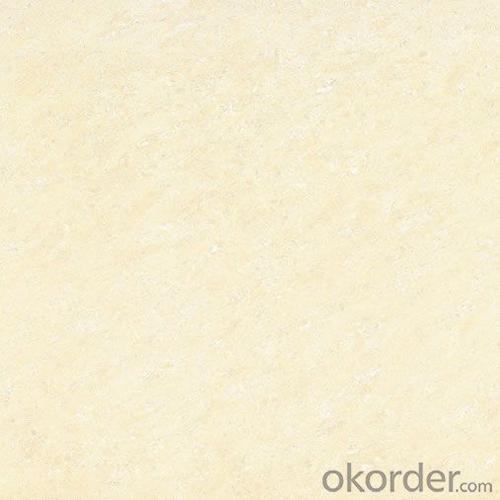
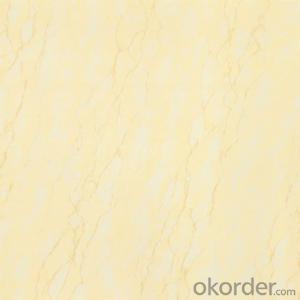
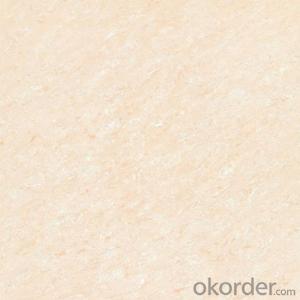
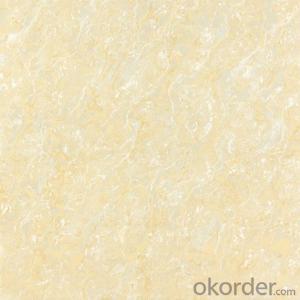
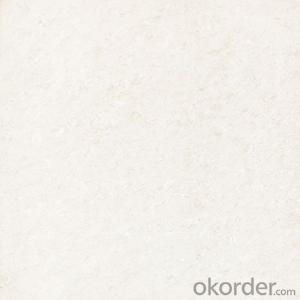
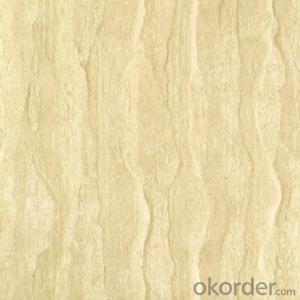
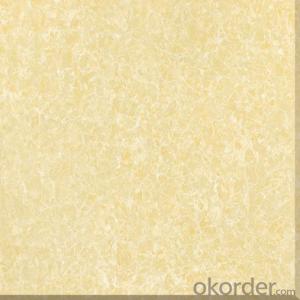
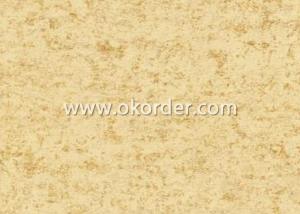
Basic Information of Polished Porcelain Tile CILO26608:
1.Size:60x60/80x80cm tile
2.Certificate:CE ISO
3.W.A. <0.5%
4.Material:Porcelain
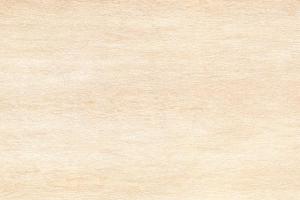
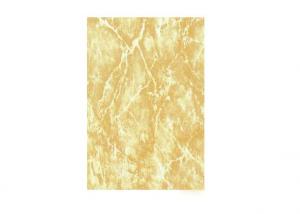
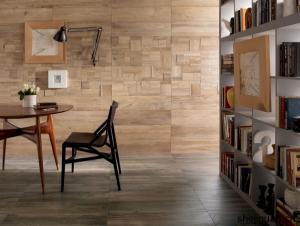
Features of Polished Porcelain Tile CILO26608:
1. Size:600*600mm;800*800mm Porcelain tile
2.Various colors are available;Fashion and elegant pattern tile
3. Usage: use in Inner Floor.
4. Engobe(water proof)
5. Certificate:CE;ISO;SONCAP
6.Tile Minimum order: 1x20'FCL (items we have in stock can be mix loading)
7.Delivery Time : within 25 days after received 30% payment by TT
8.Payment term: L/C; T/T, 30% deposit, balance paid before loading.
9.Packing: standard carton with wooden pallet or per customers' request

- Q: How to identify the quality of ceramic tile and standard
- Precautions: 1. When the decoration of the house, choose the right material is very important, when people buy tiles, often businesses will use this method to guide consumers to identify the quality of tiles: water seepage, water absorption is high, , Water absorption is low. 2. When purchasing tiles, be sure to identify the quality of the tile, select the regular product and with the correct identification method, pay attention to the construction of tiles to comply with product use instructions, to avoid the wrong method led to tile deformation and loosening.
- Q: I have a black and white tile floor, and most everything that I have tried has left it very slick even after it is dried. Does anyone know of any homemade product to clean it? I am also willing to try comercial products also. I am tired of my family slipping.
- hot water with vinegar
- Q: We will be tiling a backsplash directly onto drywall after our countertops are installed. My question is -- what do I do about the electrical outlets in that area? The tile is about 1/4 inch thick -- and I want the outlets even with the tile (right?) After I tile around the outlet openings, then how do you make them flush when you put everything back together? For example, do I just pull the sockets out so that the screw brackets sit on top of the tile? If so, then do I need to drill screw holes through the tile? If so, then how do I make sure that the tile does not break or crack?
- There is a couple of ways to do this. First and easiest way it to tile the whole splash back and then fix the socket fronts direct over the tiles. The one problem with this is that there may be clearance behind the socket and the tiles (Tile joints etc). If you do go down this route the tiles over the socket points need to be cut to allow the cables to pass through and you will need to drill holes through the tiles to screw the socket covers on. Drilling tiles is very easy, use a high speed metal drill bit and using the highest speed on the drill drill slowly through the tiles. You can use masking tape over where the holes are to be drilled to stop the drill bit from wandering. The second way to do this is to fix the sockets directly into there wall backing plates and tile around them. If there is a height difference between the surface of the tile and the front of the socket you can play around with the socket backing plate using spacers behind the backing plate to bring it forward until flush. The big advantage of doing it this way is that the sockets and the tiles are flush and there is no issues with the seal behind the socket front. In my opinion it also looks a lot better.
- Q: What is the standard water absorption of tiles?
- According to China's national standards for testing tiles, tiles according to the different water absorption, divided into porcelain brick (water absorption E ≤ 0.5%), fine stoneware tile (water absorption 3% ≤ E ≤ 6%), stoneware brick (water absorption 6 % ≤ E ≤ 10%), ceramic brick (water absorption of 10% or more) and so on. The test method should be tested on the back of the brick body. The moisture absorption of the tiles is related to the breaking strength, abrasion resistance and gloss performance. Generally speaking, the lower the water absorption of tiles, the better the tiles, the higher the product strength, wear resistance and gloss performance is better, the product is not prone to cracking or peeling. And high water absorption of the tiles after the thermal expansion and contraction will lead to tile surface cracks and the overall tile peeling, especially in the choice of toilet paving tiles more attention to this problem. To determine the size of the water absorption also has a simple method, the water absorption rate, also known as seepage rate, the simplest test method is to drop some water on the tile to do the experiment, after a few minutes, wipe the tile surface of the water, if not left any Traces, to prove that the water absorption of tiles is very low. If you leave the water mark tiles discoloration, then the ceramic tile water absorption is higher.
- Q: How to calculate the area of the toilet and kitchen tiles
- Wall, then the first to calculate the area of the wall, and then see what type of brick you buy, if it is 30x45, that is 30x45 =? And then divided by 10000 to get that number is your product to use a few pieces of brick, and then multiplied by the number of square meters, tiles is the same algorithm
- Q: How would one grout mosaic tiles on standing mirror?
- Grout application on a mirror is exactly the same process as grouting a tile floor, back-splash, counter top, or table. Since the mirror is standing, I'd be sure that the mirror won't topple over when applying the grout because it has to be floated into the crevices between the tiles / tile pieces. If possible I'd suggest laying the mirror flat, either on the floor or on a sturdy worktable A grout float is basically a block shaped pushing tool used to force the grout between the tiles. Hold the float at an angle against the tiled surface and use a firm sweeping motion across the tile to push/force the grout into all the nooks, crannies, cracks and openings between the tiles. You'll have to work fairly quickly because grout becomes hard to work once it starts drying out. Work in a diagonal pattern and go back over any low or missed areas. Allow the grout to sit for 20-30 minutes. You'll know the grout is starting to cure when there is a light haze on the tile surface. Using a sponge and a bucket of clean water lightly buff the tile to remove the haze. This step may have to be repeated once or twice to be sure that all of the excess grout has been removed from the tile surface. If you want to seal the grout and tile, there are a number of sealant products available but you'll need to wait 3 or 4 days before applying in order to allow the grout to cure properly.
- Q: laying sheet laminate over existing ceramic tile on kitchen counter
- The best answer, of course, is to pull the tile. If you want, however, you can go right over the top by gluing a sheet of 1/8 or 1/4 sheet product (lauan or cheap paneling) over the tile using mastic. Making sure it is level and solid, you can then apply laminate directly over the top. I've done it on two remodels on rental properties and it worked just fine.
- Q: My husband and I are building a new home. I would love to put ceramic tiling in my kitchen/dining room (they are combined). Do you think that 14‘X23‘ is too large for tiling? Its a concrete slap, and we will be doing the work ourselves. Any tips would be helpful!! I am looking for tips, suggestions, tools needed, extra supplies, ideas, horror stories, turned out good stories, I will take it all! Thanks so much!
- All I can say is: its probably not a great idea to put it right on top. It becomes more likely for it to come up. And then the process of taking up a layer of laminate and a layer of ceramic tile would be that much harder when it came about. I think the only way to make that work without taking up the ceramic tile is to make an air tight seal between the 2. I couldn't give you any ideas on how to do that though.
- Q: how do i do the measuring and lay out on a 10 foot by 6 foot floor when laying the tiles diagonally?
- A 10x6 room requires 60 square feet of tile to cover the floor. On a normal square to the walls pattern, I would order 10% more tile to cover waste. On a diagonal pattern, you will have more waste. I would order 15% to 20% more tile to cover waste. To set up to lay the tile, I start by picking the most obvious sight line in the room - maybe from the next room through the door and chalk a line perpendicular to the far wall along that sight line and parallel to the side wall. Then you chalk a line 45 degrees wall to wall through the center point of the center of the first line. This is your 45 degree pattern. Chalking a line wall to wall 90 degrees from the second chalk line through that same center point gives you your grid pattern to set your tile from. Ignore the first line - that was for reference only - line two and three are the lines you set your tile from. Set out tile dry with spacers to see if you like the effect. I will sometimes set out all of the whole tile possible in the room and walk around to see if it looks good. If it doesn't look right or you end up with too small pieces along the edges or in the doorways, you can move your initial start point and rechalk your lines.
- Q: This tile in my kitchen became loose a while ago and today I decided to try to fix it but not sure what to do. As you can see from the image link, a fair amount of concrete has come off with the tile. I suppose I can‘t re-use this tile. I have a spare one available. What I need to know is what product do I use to fill in the hole? Should I try to get out all the old concrete stuff first?
- Sockies, this is actually an easy repair. The first responder suggested liquid nails. Don't even consider that. If you have a matching tile available, use that in lieu of trying to clean off the tile. First off, it looks like the tile came loose based the non-continuous thinset on the bottom of the tile. If that is the case (which is probably the cause), you want to fill in under the tile with thinset, so the entire area where the tile sets is filled solid from the sub-floor to approx. 1/8 below the bottom of the surrounding tiles. You should remove the existing thinset where the tile will set. You can do this with a brick or masonry chisel. If a little remains at the perimeter, that will be fine. Trying to remove all of it flush with the surrounding tiles may result in loosening additional tiles. You don't want that. Allow about 5-6 hours for that to set (harden) enough to set the tile. You don't make it flush because you will spread additional thinset on the underside of the tile to set it. Use a 3/8 notched trowel to spread the thinset on the entire surface of the bottom of the tile. Place the tile keeping an even spacing from the tile to the surrounding tiles You want the grout joints to be the same size all around. Press down over the entire surface of the tile to ensure it embeds completely and is flush with the surrounding tiles. Allow it to set overnight and remove any thinset that will impede the grout from obtaining 1/4 depth. It's not necessary to make the grout the full depth of the tile. It's imperative to remove any loose grout prior to grouting. That's it. I suggest buying thinset that comes in the bag that you mix with water. Don't make it too soupy when you mix it. The thinset and grout need to (what's called) slake during the mixing process. It simply means you mix it, allow it to set 5 minutes and remix it, and it's ready to use. The bag will have those instructions on the back.
Send your message to us
Low Price + Polished Porcelain Tile + High Quality 8E03
- Ref Price:
-
- Loading Port:
- Guangzhou
- Payment Terms:
- TT OR LC
- Min Order Qty:
- 100 PCS
- Supply Capability:
- 100000 PCS/month
OKorder Service Pledge
OKorder Financial Service
Similar products
Hot products
Hot Searches

