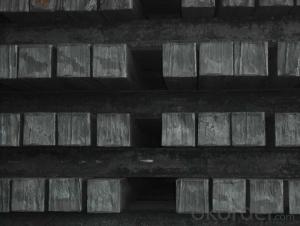
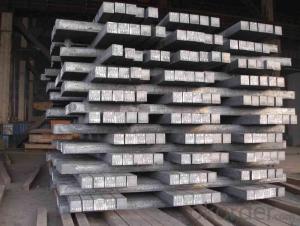


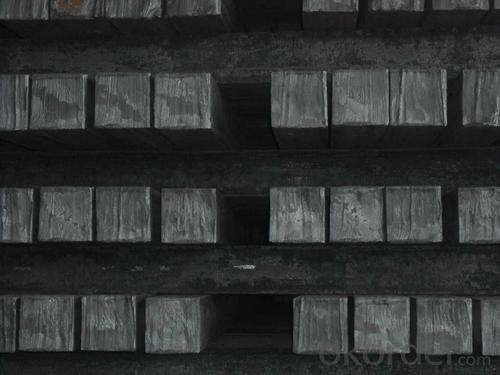
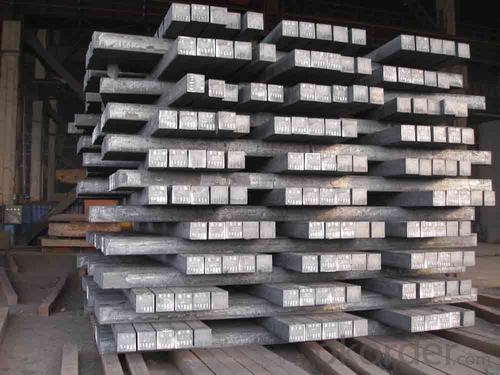
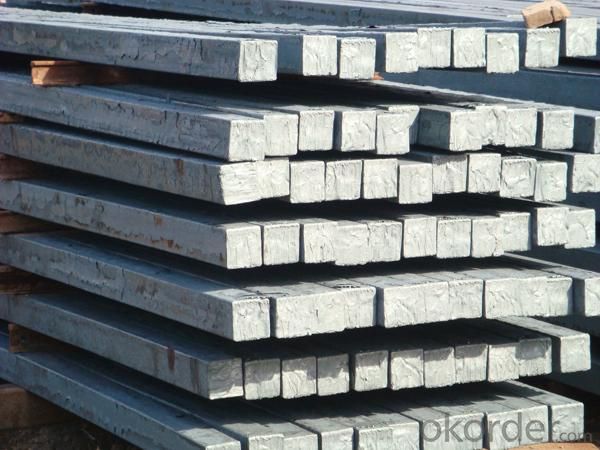
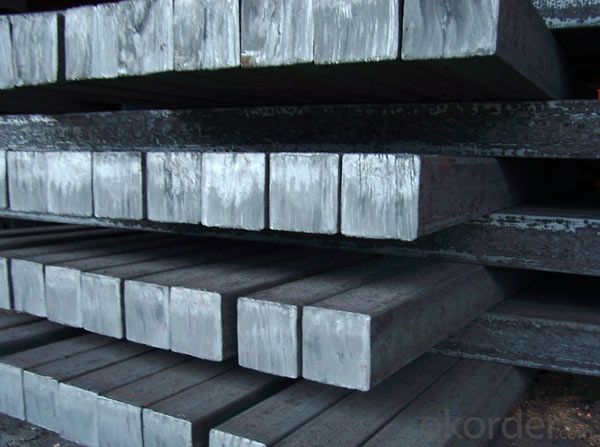
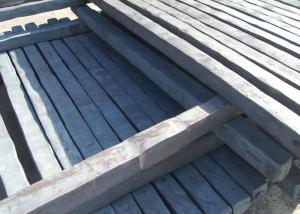
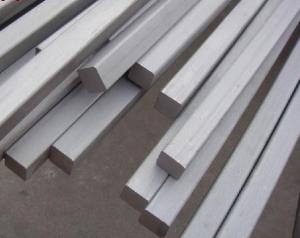
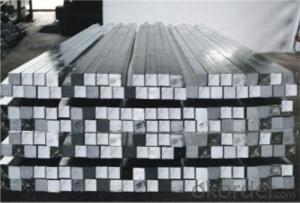
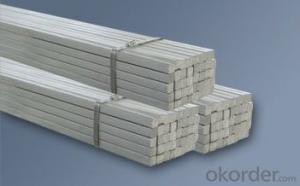
Hot rolled steel square bar
- Ref Price:
-

- Loading Port:
- China Main Port
- Payment Terms:
- TT OR LC
- Min Order Qty:
- -
- Supply Capability:
- -
OKorder Service Pledge
Quality Product, Order Online Tracking, Timely Delivery
OKorder Financial Service
Credit Rating, Credit Services, Credit Purchasing
You Might Also Like


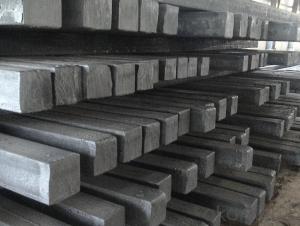
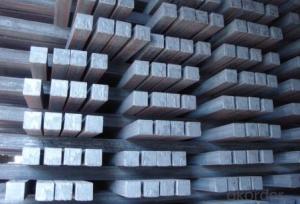
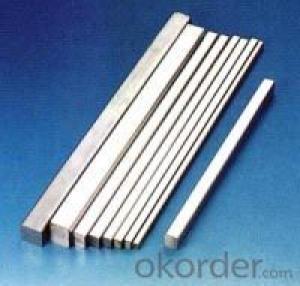
Product Description
The Detail of Product
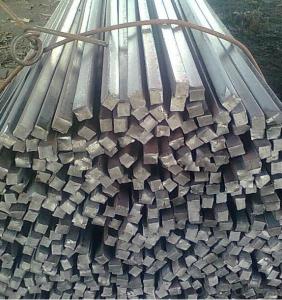
| Name: | steel billets |
| LENGTH: | 6 meter to 12 meter (+ 50mm) |
| Size: | 100*100, 120*120, 150*150, 200*200 |
| Grade: | 3SP,5SP,Q235,20MnSi. |
| Shape: | Square, Round |
| Technique: | Hot-Rolled |
| Standard: | ASTM/GB |
| BENDING | No more than 5mm in 1 meter No more than 30mm in 6 meter No more than 60mm in 12 meter |
| ANGULAR TWIST | No more than 1 degree per meter and not more than 6 degree over 12 meter length. |
| Chemical composition | C, Si, Mn, P, S, N, etc |
Chemical Properties
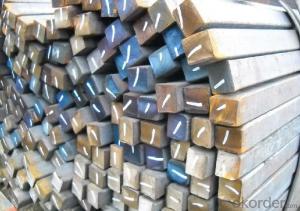
| Size | 60*60/90*90/100*100/120*120/150*150 |
| Length | 6000mm-12000mm |
| Standard | GB |
| Applicaton | To produce bars or other applications |
| Grade | Q195/Q235/Q275/3SP/5SP/20MnSi |
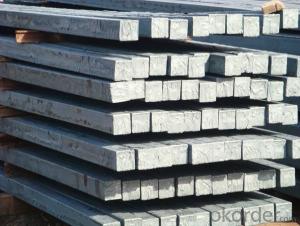
| Packing terms | TT/LC |
| Package | Mill's standard packing or as client's requirment |
| Delivery time | Within 10-30 days after receiving the deposit or LC |
Chemical Comosition
| Standard | C(%) | Mn(%) | S(%) | P(%) | Si(%) |
| Q195 | ≤0.12 | ≤0.50 | ≤0.040 | ≤0.035 | ≤0.30 |
| Q235 | ≤0.20 | ≤1.40 | ≤0.045 | ≤0.045 | ≤0.35 |
| Q275 | ≤0.22 | ≤1.50 | ≤0.045 | ≤0.045 | ≤0.35 |
| 20MnSi | 0.17-0.25 | 1.2-1.6 | ≤ 0.050 | ≤ 0.050 | 0.40-0.80 |
| 3SP | 0.14-0.22 | 0.40-0.85 | ≤ 0.050 | ≤ 0.040 | 0.05-0.15 |
| 5SP | 0.28-0.37 | 0.50-1.00 | ≤ 0.050 | ≤ 0.040 | 0.15-0.30 |
- Q: How do you use a steel square to determine the angle of a cut?
- To use a steel square to determine the angle of a cut, you would place the square against the material being cut, aligning one edge of the square with the edge of the material. Then, you can read the angle measurement indicated on the square's scale or protractor. This will give you the precise angle for making the cut.
- Q: Can a steel square be used for marking out bridle joints?
- Yes, a steel square can be used for marking out bridle joints.
- Q: What are some common applications for a steel square in fence construction?
- A steel square is a versatile tool commonly used in fence construction due to its accuracy and durability. Some common applications for a steel square in fence construction include: 1. Measuring and marking angles: A steel square is often used to accurately measure and mark angles during the installation of fence posts and rails. This ensures that the fence is properly aligned and level. 2. Checking for squareness: A steel square is an essential tool for checking if corners are perfectly square. This is crucial in fence construction to ensure that the fence panels are properly aligned and the overall structure is sturdy. 3. Determining cuts and lengths: A steel square can be used to measure and mark the correct length of fence rails, pickets, or panels. It helps in making accurate cuts and ensures that all components are uniform and fit together seamlessly. 4. Creating straight lines: Whether it's laying out the initial boundary or aligning fence components, a steel square can be used to create straight lines. By using the edge of the square as a guide, fence construction becomes more precise and visually appealing. 5. Checking for levelness: A steel square can also be used to check the levelness of fence posts and rails. By holding the square against the vertical surface, one can determine if the fence component is perfectly vertical or needs adjustment. 6. Squaring the gate frame: When constructing a gate, a steel square is invaluable in ensuring that the gate frame is perfectly square. This helps in preventing sagging and ensures smooth operation. Overall, a steel square is an indispensable tool in fence construction. It helps in achieving accurate measurements, levelness, and squareness, resulting in a professionally built and sturdy fence.
- Q: Can a steel square be used for wainscoting installation?
- Yes, a steel square can be used for wainscoting installation. A steel square is a versatile tool that can be used to accurately measure and mark angles and lines on wood, which is commonly used for wainscoting. It can help ensure precise cuts and proper alignment during the installation process.
- Q: How do you use a steel square to mark a line parallel to a board edge at a specific distance?
- To achieve a line parallel to a board edge at a specific distance, you can follow these instructions: 1. Determine the desired distance for the parallel line. For instance, if you want the line to be 2 inches away from the board edge, take note of this measurement. 2. Align one side of the steel square parallel to the board edge, ensuring that it is flush against the board without any tilting or skewing. 3. Once the square is properly aligned, use a pencil or marking tool to make a reference point on the board along the square's edge. 4. Proceed to move the steel square along the board edge while maintaining the parallel alignment. Be consistent in keeping the same distance between the square's edge and the reference mark you made earlier. For example, if the desired distance is 2 inches, always ensure the square's edge is 2 inches away from the reference mark. 5. While moving the steel square, continue marking reference points at regular intervals. These points will serve as a guide for drawing a straight line later on. 6. Once you have marked enough reference points along the board edge, connect them using your pencil or marking tool to create a straight line. This line will remain parallel to the board edge with the specified distance maintained throughout its length. By utilizing a steel square and following these steps, you can accurately mark a line parallel to a board edge at a specific distance. This technique is commonly employed in woodworking, carpentry, and related trades to ensure precise measurements and markings.
- Q: Can a steel square be used for measuring angles in welding?
- Indeed, measuring angles in welding can be achieved by utilizing a steel square. The steel square, which is also referred to as a framing square or a carpenter's square, is a highly adaptable tool extensively utilized in construction and welding. With its distinctive right angle shape, the steel square is equipped with markings and measurements on its surface. While it may not possess the same level of precision as specialized angle measuring instruments such as protractors or angle finders, a steel square can still serve effectively in measuring and marking angles in welding. To measure an angle using a steel square, one can align a side of the square with the reference line or surface, and subsequently employ the other side to ascertain the desired angle. The degree markings on the square facilitate accurate determination of the angle. Furthermore, the straight edge of the square can be employed to draw lines or execute cuts at specific angles. It is crucial to acknowledge, however, that the accuracy of the measurement hinges upon the precision of the steel square and the proficiency of the user. If elevated levels of accuracy are essential, it is advisable to employ specialized angle measuring instruments or digital angle finders that offer more meticulous measurements.
- Q: Can a steel square be used for measuring pipe diameters?
- Accurately measuring pipe diameters cannot be achieved using a steel square. The primary function of a steel square is to measure right angles and assess the straightness of edges. It comprises a long steel ruler accompanied by a perpendicular arm known as a tongue. While it can assist in certain construction and woodworking endeavors, it is not intended for measuring pipe diameters. For precise pipe diameter measurements, one would typically employ a caliper, tape measure, or a specialized tool such as a pipe diameter tape. These instruments are specifically crafted to gauge the circumference or diameter of cylindrical objects like pipes.
- Q: Can a steel square be used for checking the squareness of a table saw fence?
- Checking the squareness of a table saw fence is possible with the use of a steel square. A steel square, also referred to as a carpenter's square or framing square, is a tool that has a right-angle shape. It is capable of ensuring that the edges and corners of a workpiece or tool are perfectly square. To verify the squareness of a table saw fence, simply position the steel square against the fence and align it with the blade of the table saw. If the square is appropriately aligned, the blade should be perpendicular to the fence, indicating that the fence is square. However, it is important to keep in mind that although a steel square can offer a convenient and straightforward method for checking squareness, it is always recommended to use a more precise measuring tool, such as a dial indicator or precision square, for accurate results.
- Q: What are some common techniques for using a steel square in cabinetry?
- A steel square, which is also referred to as a framing square or carpenter's square, is a tool that is widely used in cabinetry for the purpose of measuring and marking angles, thus guaranteeing precise cuts and joinery. Presented below are several customary methods for employing a steel square in cabinetry: 1. Squareness verification: One of the primary functions of a steel square is to ascertain if a corner is perfectly square. To accomplish this, position the square against the inside corner, and if the edge aligns with the adjacent edge, it indicates that the corner is square. This aids in ensuring that all corners of the cabinets are at right angles. 2. Indication of 45-degree cuts: The body of the steel square contains a 45-degree angle mark. By aligning the square with the material's edge, you can accurately mark a 45-degree angle for mitered cuts, such as those used for trim or decorative elements on cabinet doors and panels. 3. Marking of parallel lines: The lengthy edge of a steel square is utilized for marking parallel lines. Just align the square with the material's edge and draw a line along the other edge of the square. This technique is useful for marking the locations of shelves and cabinet bottoms or for ensuring parallel cuts. 4. Layout of cuts: The steel square is highly effective for marking precise lines for cuts. By aligning the square with the material's edge, you can draw a line perpendicular or parallel to the edge. This facilitates the marking of cuts for various cabinet components like shelves, drawer dividers, and door frames. 5. Determination of pitch and slope: A steel square can be utilized to determine the pitch or slope of a roof or any inclined surface. By placing the square on the surface, you can ascertain the degree of pitch or slope by referring to the markings on the square. 6. Measurement and transfer of dimensions: The steel square can also function as a ruler for the purpose of measuring and transferring dimensions. The body of the square typically features a scale on one or both edges, enabling you to measure and mark precise lengths or distances. All in all, a steel square is an indispensable tool in cabinetry, providing accuracy and versatility in terms of measuring, marking, and verifying angles. Whether you are constructing cabinets from scratch or making meticulous modifications, incorporating these common techniques will ensure that your cabinetry projects are executed with precision and craftsmanship.
- Q: How do you use a steel square to determine the center of a circle?
- To use a steel square to determine the center of a circle, you will need a compass, a pencil, and the steel square itself. Here are the steps to follow: 1. Place the steel square on a flat surface or workbench, ensuring that it is stable and level. 2. Take the compass and adjust its width to match the diameter of the circle you want to find the center of. Tighten the compass to secure the width. 3. Position the compass on the steel square, so that one leg of the compass rests against the inside edge of the square, and the other leg extends beyond the edge. 4. With the compass held firmly, rotate it along the inside edge of the steel square, drawing an arc on the surface below. 5. Repeat this process by rotating the compass along the outside edge of the steel square, drawing another arc that intersects the first one you drew. 6. The point at which the two arcs intersect is the approximate center of the circle. 7. To confirm the accuracy of the center point, adjust the compass width slightly and repeat the process. The new arcs should intersect at the same point as before, indicating that you have found the true center of the circle. Remember to be precise and careful when using a steel square to determine the center of a circle. Taking multiple measurements and using different compass widths can help ensure accuracy in your calculations.
Send your message to us
Hot rolled steel square bar
- Ref Price:
-
- Loading Port:
- China Main Port
- Payment Terms:
- TT OR LC
- Min Order Qty:
- -
- Supply Capability:
- -
OKorder Service Pledge
Quality Product, Order Online Tracking, Timely Delivery
OKorder Financial Service
Credit Rating, Credit Services, Credit Purchasing
Similar products


Hot products


Hot Searches
Related keywords

