

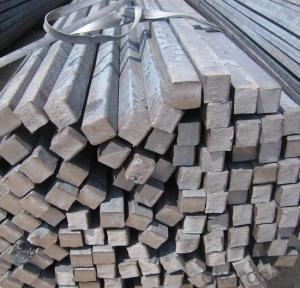


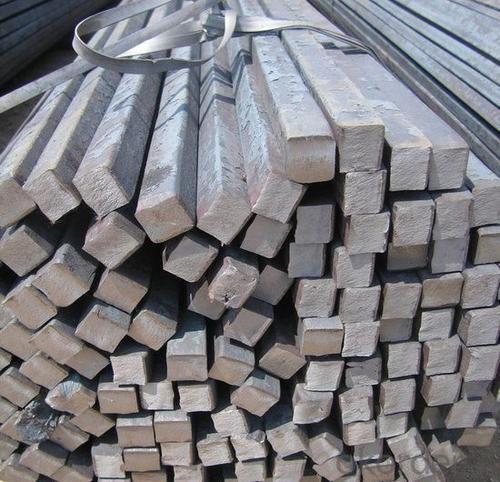
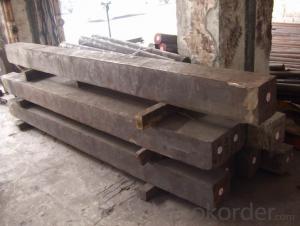
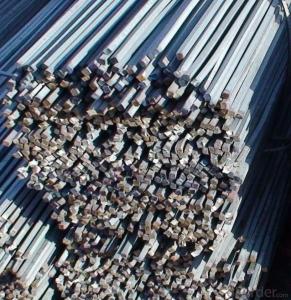
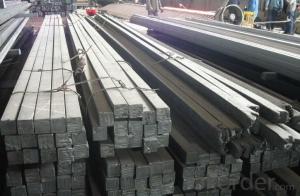
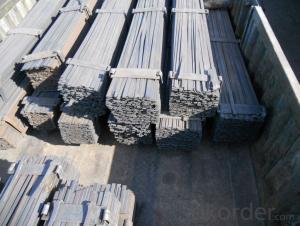
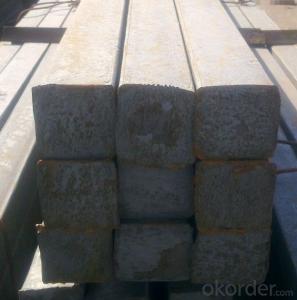
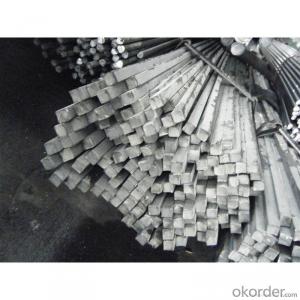
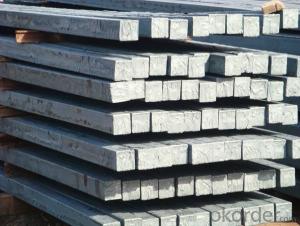
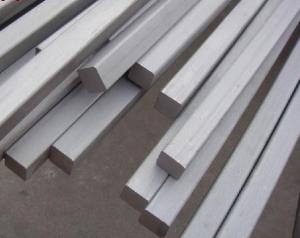
High Quality GB Standard Steel Square Bar 16mm-20mm
- Ref Price:
-

- Loading Port:
- Tianjin
- Payment Terms:
- TT OR LC
- Min Order Qty:
- 25 m.t
- Supply Capability:
- 10000 m.t/month
OKorder Service Pledge
OKorder Financial Service
You Might Also Like


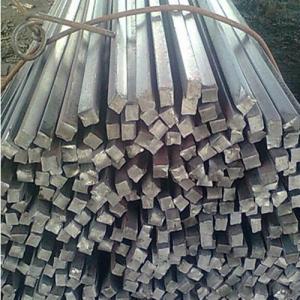
Product Description:
-Standard: GB,
-Grade: Q195 or equivalent.
-Chemical Composition:
Standard | Grade | Element (%) | ||||
GB | Q195 | C | Mn | S | P | Si |
0.06~0.12 | 0.25~0.50 | ≤0.050 | ≤0.045 | ≤0.30 | ||
Measures of HR Square Bar (small measures):

(Section of HR Square Bar)
-Length of a side and Theoretical weight of Square Bar.
Length of a side(mm) | Theoretical weight(kg/m) | Length of a side(mm) | Theoretical weight(kg/m) |
7 | 0.385 | 22 | 3.80 |
8 | 0.502 | 24 | 4.52 |
9 | 0.636 | 25 | 4.91 |
10 | 0.785 | 26 | 5.30 |
11 | 0.950 | 28 | 6.15 |
12 | 1.13 | 30 | 7.06 |
13 | 1.33 | 32 | 8.04 |
14 | 1.54 | 34 | 9.07 |
15 | 1.77 | 36 | 10.17 |
16 | 2.01 | 38 | 11.24 |
17 | 2.27 | 40 | 12.56 |
18 | 2.54 | 42 | 13.85 |
19 | 2.82 | 45 | 15.90 |
20 | 3.14 | 48 | 18.09 |
21 | 3.46 | 50 | 19.63 |
Notes:
1, The theoretical weights in the list, base on the density of 7.85 g/cm3.
2, Formula for theoretical weight of Square bar: (length of a side)2 * 0.00785
3, The numbers with *mean that they are not regular or we don’t offer them.
-Regular length of Square Bar:
Steel | Length of a side (mm) | Length of steel (m) |
Normal steel | < 25 | 4~10 |
> 25 | 3~9 | |
Steel of high quality | All measure | 2~6 |
Tool steel >75 | 1~6 |
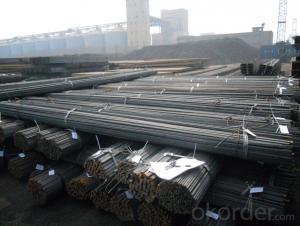
Usage/Applications of HR Square Bar:
-The Square Bar is normally used as structure steel.
-Row material for other structure steel like steel angles, channels, I-beams, H-beams, etc…
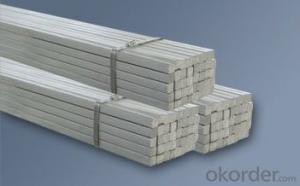
Packaging & Delivery of HR Square Bar:
-Packing Detail: The products can be packed in bundles by steel wires.
-Marks: We make tag marks and color marks. The tag marks with white background and red company logo will be tied up to each bundle of the products. The information is usually including basic information of products and company and other information requested by customers. As for color marks, we will paint both ends of bundles to make sure that it will be more convenient for customers to distinguish them from other products.
-Delivery Detail: 30~45 working days after receive buyer’s T.T. or L/C.
Transportation:
-The products can be delivered by bulk vessel or by container. As for container, products with the length of 6m will be loaded in 20’ container, with 9m or 12m, in 40’ container.
-The maximum quantity of loading of container is 25 tons.
-The products are usually transported to the nearest port from the production place.
- Q: How do you use a steel square to find the height of a retaining wall?
- To use a steel square to find the height of a retaining wall, you will need a few measurements and a basic understanding of the tool. Firstly, ensure that your steel square is clean and in good condition. Start by positioning yourself near the retaining wall at a point where you can easily see the top of the wall. Hold the steel square vertically, with the shorter side against the wall and the longer side extending upwards. Align the bottom edge of the square with the base of the wall. Now, you will need to measure the distance from the bottom edge of the steel square to the top of the retaining wall. You can do this by either extending your arm or using a measuring tape. Make sure to keep the square perpendicular to the ground, as this will provide an accurate measurement. Once you have the measurement, note it down. This distance represents the height of the retaining wall. You can use this information for various purposes, such as calculating the amount of materials needed for repairs or determining the stability of the wall. Remember, accuracy is crucial when using a steel square to find the height of a retaining wall. Take your time to ensure the square is aligned correctly and that your measurements are precise. Additionally, it is always helpful to double-check your calculations and measurements to avoid any errors.
- Q: How do you use a steel square to lay out a hexagon?
- To lay out a hexagon using a steel square, you can follow these instructions for precise measurements: 1. Determine the desired size of the hexagon you want to create. For instance, let's assume you want the sides to measure 6 inches. 2. Position the steel square on a flat surface at a 45-degree angle, ensuring that the longer side is facing upward to form a right angle. 3. Along the longer side of the steel square, measure and mark a point at the desired distance of 6 inches. This point will serve as one of the hexagon's vertices. 4. Rotate the steel square counterclockwise by 60 degrees from the marked point, aligning the shorter side with the longer side. This action will generate a new point on the longer side. 5. Measure and mark another point on the longer side, 6 inches away from the newly created point, towards the right side of the square. This will be the second vertex of the hexagon. 6. Repeat steps 4 and 5 five more times, rotating the steel square counterclockwise by 60 degrees each time and marking points at the same distance of 6 inches from the previous point. These points will represent the remaining vertices of the hexagon. 7. Once all six points are marked, connect them with straight lines to form the complete hexagon. By utilizing a steel square and adhering to these steps, you can effortlessly lay out a hexagon with precise measurements. Remember to adjust the measurements according to the desired size of your hexagon.
- Q: How do you use a steel square to measure and mark 180-degree angles?
- To measure and mark 180-degree angles using a steel square, the following steps should be followed: 1. Position the steel square onto the surface or material where the angle needs to be measured. 2. Align one side of the square with a reference line or edge of the material. 3. Ensure that the right-angle corner of the square is placed at the starting point of the desired angle. 4. Rotate the square until the other side aligns with the intended direction of the angle. 5. Firmly hold the square in place once the desired angle is achieved. 6. Trace along the edge of the square using a pencil or marker to mark the 180-degree angle. 7. Remove the steel square, and the material will now bear a precise 180-degree angle marking. It is crucial to remember that a steel square is specifically designed for measuring and marking right angles (90 degrees). In order to measure and mark 180-degree angles, the right-angle corner of the square must be utilized and aligned accordingly to achieve the desired angle.
- Q: How do you use a steel square to determine the angle of a compound cove cut?
- To use a steel square to determine the angle of a compound cove cut, you will need to follow these steps: 1. Start by ensuring that your steel square is clean and in good condition, with all the necessary markings and measurements clearly visible. 2. Place the steel square firmly against the piece of wood or material on which you want to make the compound cove cut. The longer side of the square should be aligned with the bottom edge of the material. 3. Adjust the position of the square so that the shorter side is perpendicular to the longer side and aligned with the side edge of the material. 4. Once the square is properly positioned, use a pencil or a marking tool to trace along the inside edge of the longer side of the square. This will create a straight line on the material. 5. Now, rotate the square along the bottom edge of the material, maintaining the alignment with the side edge. This will create a second straight line on the material, intersecting the first line you drew. 6. The point of intersection between the two lines represents the compound cove cut angle. To measure this angle, you can use a protractor or the angle measuring feature on your steel square. 7. Align the protractor or angle measuring feature with the two lines, ensuring that it is placed on the point of intersection. Read the angle measurement provided by the protractor or steel square, which will give you the precise angle of the compound cove cut. By following these steps and using a steel square correctly, you can accurately determine the angle of a compound cove cut on your material. Remember to always double-check your measurements and ensure the square is properly aligned for accurate results.
- Q: Can a steel square be used for checking the alignment of a scroll saw table?
- Yes, a steel square can be used for checking the alignment of a scroll saw table. A steel square is a versatile tool that is commonly used in woodworking and metalworking for checking the accuracy and alignment of various components. When it comes to checking the alignment of a scroll saw table, a steel square can be used to ensure that the table is perfectly perpendicular to the blade, which is crucial for precise and accurate cuts. By placing the steel square against the table and the blade, you can easily determine if the table is aligned correctly. If there is any deviation, adjustments can be made to ensure proper alignment, resulting in improved cutting accuracy and quality.
- Q: How do you use a steel square for marking and cutting bridle joints?
- To use a steel square for marking and cutting bridle joints, follow these steps: 1. Measure and mark the desired length of the joint on the workpiece using a tape measure. 2. Hold the steel square firmly against the edge of the workpiece, aligning one leg of the square with the marked line. 3. Use a pencil or marking knife to trace along the other leg of the square, marking a straight line across the workpiece. 4. Repeat the previous step on the other side of the workpiece, ensuring the lines intersect at the desired joint location. 5. Use a saw to carefully cut along the marked lines, following the square's edge as a guide. 6. Test-fit the joint by connecting the two workpieces together, making any necessary adjustments for a snug fit. 7. Once satisfied with the joint's fit, secure the bridle joint using appropriate fasteners or adhesive. By utilizing a steel square, you can ensure accurate and precise marking and cutting of bridle joints, resulting in strong and well-fitting connections between workpieces.
- Q: Can a steel square be used for checking the flatness of a floor joist?
- No, a steel square cannot be used for checking the flatness of a floor joist. A steel square is a tool primarily used for measuring right angles and laying out perpendicular lines. It is not designed or suitable for checking the flatness of a floor joist. To check the flatness of a floor joist, you would need a straight edge or a level that can span the distance of the joist and provide an accurate measurement of any deviations from a flat surface.
- Q: Can a steel square be used for woodworking joinery?
- Yes, a steel square can certainly be used for woodworking joinery. A steel square is a versatile tool commonly used in woodworking to ensure accurate right angles and measure and mark wood for various joinery techniques such as mortise and tenon joints or dovetail joints. Its durability and precision make it an excellent choice for woodworking tasks.
- Q: What are the advantages of using a steel square over other measuring tools?
- There are several advantages of using a steel square over other measuring tools. Firstly, steel squares are known for their accuracy and precision. They are designed with a right angle and straight edges, which ensures that the measurements taken using a steel square are highly reliable. This is especially important in construction and carpentry work where precise measurements are crucial for the success of a project. Additionally, steel squares are extremely durable and long-lasting. Made from high-quality steel, they can withstand heavy use and are resistant to wear and tear. This makes them a cost-effective tool as they do not need to be replaced frequently. Another advantage of using a steel square is its versatility. It can be used for a variety of purposes such as marking and measuring angles, checking the straightness of edges, and laying out lines for cutting or marking. This versatility makes it a valuable tool for professionals in various fields such as woodworking, metalworking, and masonry. Furthermore, steel squares often come with additional features such as built-in scales and measurement markings. These markings make it easier to take accurate measurements without the need for additional tools. This saves time and increases efficiency, making the steel square a practical choice for professionals and DIY enthusiasts alike. Lastly, steel squares are relatively compact and easy to carry around. They can easily fit in a tool belt or toolbox, making them convenient to use on-site or in tight spaces. This portability factor adds to their overall practicality and usefulness. In summary, the advantages of using a steel square over other measuring tools include its accuracy, durability, versatility, additional features, and portability. These features make the steel square a reliable and indispensable tool for professionals in various industries.
- Q: Can a steel square be used for measuring the thickness of materials?
- No, a steel square is not suitable for measuring the thickness of materials as it is primarily used for measuring and marking angles in carpentry and construction. For measuring thickness, specialized tools like calipers or micrometers are more appropriate.
Send your message to us
High Quality GB Standard Steel Square Bar 16mm-20mm
- Ref Price:
-
- Loading Port:
- Tianjin
- Payment Terms:
- TT OR LC
- Min Order Qty:
- 25 m.t
- Supply Capability:
- 10000 m.t/month
OKorder Service Pledge
OKorder Financial Service
Similar products
Hot products


Hot Searches
Related keywords

