


Polished Porcelain Tile Best quality BJ1249
- Ref Price:
-

- Loading Port:
- China main port
- Payment Terms:
- TT OR LC
- Min Order Qty:
- 1 m²
- Supply Capability:
- 100000 m²/month
OKorder Service Pledge
OKorder Financial Service
You Might Also Like


Primary Competitive Advantages of Polised Porcelain Tile BJ1249:
Experienced Staff
Form A
Green Product
Guarantee/Warranty
Military Specifications
Packaging
Price
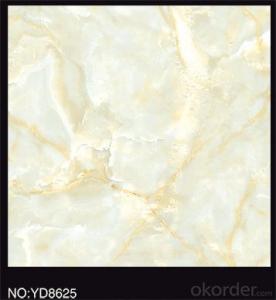
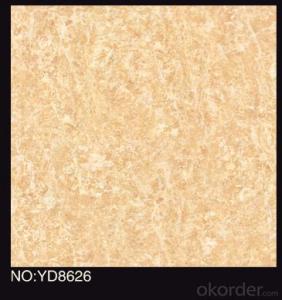
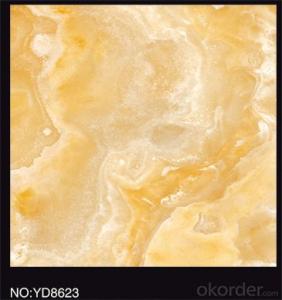
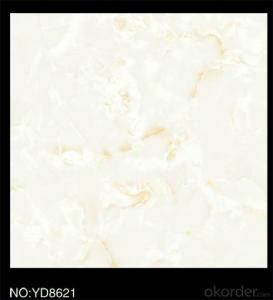
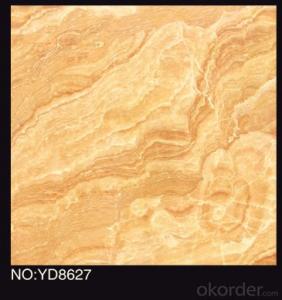
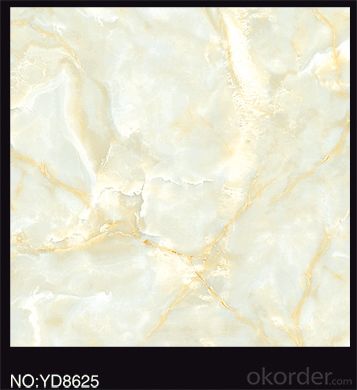
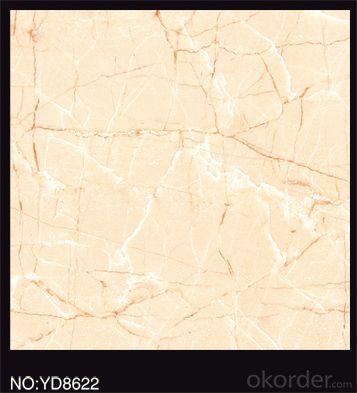
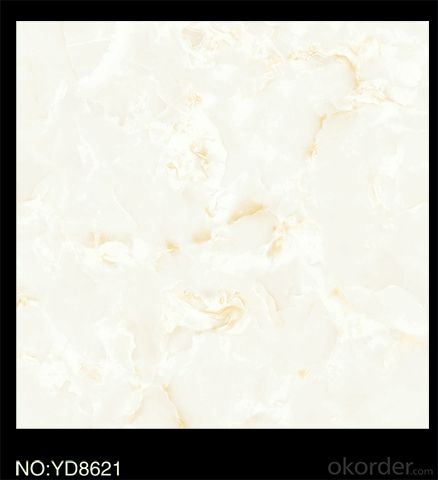
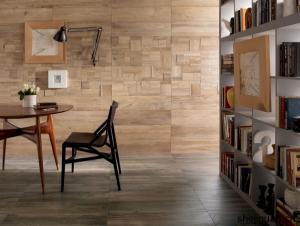
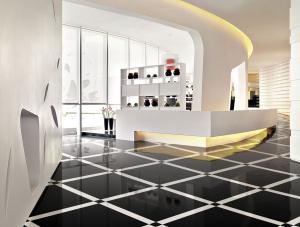
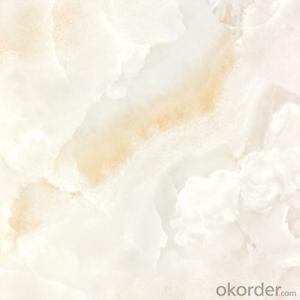
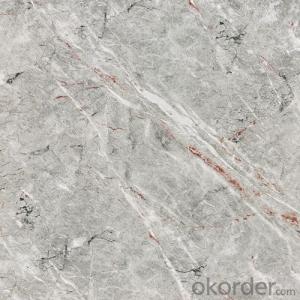
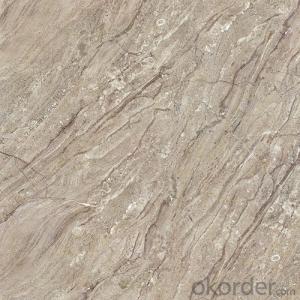
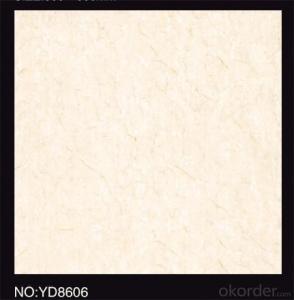
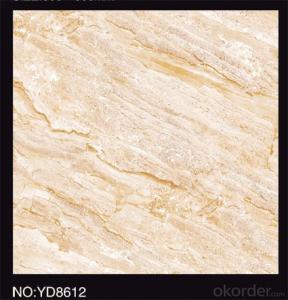
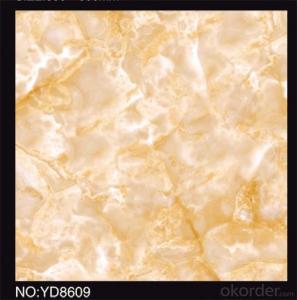
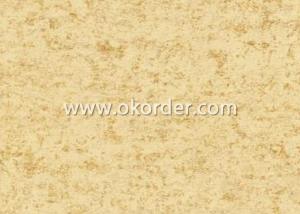
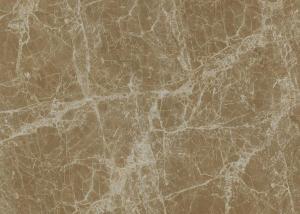
Product Features:
Adopt international advanced ceramic cloth exquisite processing technology, selected high
quality pure raw materials, on the product body, with moist and gorgeous color, microcomputer
total precision control, multiple temperature control forming technology create gorgeous texture
hd grain boundary, bottom dense embryo thicker, pure texture, deduces the natural stone material through the external environment and the
geological characteristics and the dynamic form of change,
also make products with high hardness, high gloss, low water absorption, strong dirt resistance, easy
to clean, etc excellent characteristic.
Main Export Markets:
Eastern Europe
North America
Mid East/Africa
Central/South America
Asia
Western Europe
Austra
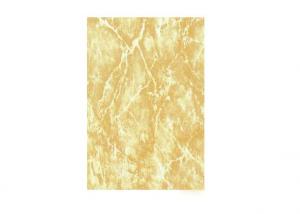
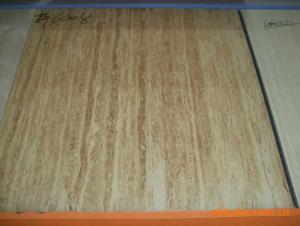
Product Picture :

Production Line :

Oversea Branch :

Product Certificate :

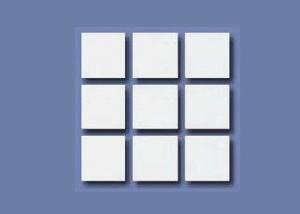
Packing Details :

- Q: whats the best way to remove it??? Put it on bathroom tiles but it is all chipping off and doesnt look pretty
- if you painted right over ceramic tile it should come off with a razor blade scraper -- if the paint is in the grout you may never get it off there-- not sure what type of paint you used -- some oil paints can be removed with laquer thinner or paint thinner ---
- Q: i need to lcut a circle 36x36 inch on floor tile thats about 1/2 inch thick. can dremel cut this? thanks
- Depends on the exact type of tile. Some porcelain and other hard bodied tile you ll burn the bits and possible the motor itself. If it was a smaller area you had to cut out, it would possible work. Some satillo tiles you could do this with some extra bits , since they are a softer bodied tile. Any questions you can e mail me through my avatar and check my qualifications there. GL
- Q: We recently renovated and trying to save money, we did the tile ourselves after some research. We used thinset, then backerboard, screwed the backer-board down (extra screws in high traffic areas) then thinsetted the tiles down according to instructions using a 1 inch trowel and grouted. Most of the rooms are fine (for now) but here‘s the problem:Through the main pathway, we started hearing what sounded like a sandy noise. Not good as the thinset is sandy. Today, I‘ve noticed that the grout along a few of the tiles is beginning to crack meaning the tiles must be flexing. The tiles are discontinued, have brand new cabinets on top of them and won‘t be easy to take out and replace.What should I do? Would putting large rugs over it help, with the intention of cushioning the footsteps?
- You call a professional handyman or handy-woman for advice
- Q: How to calculate the loss of tiles
- Number of tiles = Room area of wall and floor tile / [(block length of long gray seam width) × (block width wide gray seam width)] × (1 loss rate) For example: the use of retro tiles specifications for the 0.5 × 0.5M, patchwork width of 0.002M, loss rate of 1%, 100 square meters need to use the number of: 100 square meters dosage = 100 / [(0.5 0.002) 0.002) x (1 0.01) is about equal to 401 pieces. Ps: Floor tiles in the precise accounting, taking into account the cutting loss, the purchase of additional 3% -5% of the amount of loss.
- Q: My kitchen has ceramic tile already installed and I despise it and have for years. I do not want to put a big investment into this house as I do not plan on living there for much over 2 more years. I just want to cover it up and make it look better. This site seems pretty legit and only deals with self stick tile. Anyone know of pros or cons? Have any suggestions?
- Cons would be that it costs close to $10 a square foot. I also doubt that it looks as good in person as the site claims. I've installed a lot of surface coverings, including tile-textured vinyl wallpaper and a variety of peel and stick material and they rarely look that convincing when they are right under your nose, as a countertop backsplash would be. That's a lot of money for a coverup job, And you don't say where the tile is installed. Walls? Countertop? Floors? That stickandgo is strictly for walls, not any area that would have moisture lying on it or traffic. If it is just your walls it would be a lot cheaper just to hire someone to tear off the ceramic tile and put up something different. It only cost me $6 a square foot for labor and $3 for material to have a real ceramic subway tile back splash installed in my kitchen last year. It would be even less if you did it yourself. If you are thinking of covering a floor, look at the Trafficmaster Allure material at Home Depot -- excellent product and about $2 a square foot. Installs like a dream, completely waterproof, can go over an uneven surface, adheres to itself, not what is behind it (it floats), easy to remove later, and both the tile and wood versions look and feel absolutely real. We did my friend's large bathroom with it in less than 4 hours last winter and it looks like a hardwood floor and holds up to anything. I used the slate-look tiles in my breakfast room of my previous house and everyone who saw it thought it was real stone. If it's your countertops, it is easy and cheap to replace countertops with new laminate and the new laminates are not your Grandma's formica -- many look like high-end granite and even metals.
- Q: i have these ugly light blue ceramic tiles in my kitchen (as a backsplash)..they are fairly big squares ... and the owner before me tried to paint the grout between them because the paint (or whatever it was) is coming off so now the grout is gross dark grey coming through...anyways...i was wondering if anyone had some easy ideas to cover up the ceramic tiles.
- I recommend removing the tiles as well. Re-tiling is pretty easy, just takes some time. They now make tile paint and the old tiles could be painted. Or you can get a sheet of that new plastic bathroom paneling, cut it to fit and use some liquid nails to glue it to the wall. As another person said you could use thin luan plywood and cover it - you could even wallpaper the board before you put it up.
- Q: I need to tile a kitchen back splash from counter to cabinets. Backerboard at the moment is drywall, textured and painted. I‘d like to hear some opinions on tiling directly over this or using cement backer board. Also thinset or mastic?
- Well, it depends on a few of things. If the drywall is really lumpy, I would use the cement board. If the area near the sink gets really wet, I would use the cement board. Honestly, I would try and smooth down the drywall before making the job any harder than it has to be. As for thin set vs. mastic, well I prefer mastic for thin small tiles because of the smaller notches and for wall work because I find there is less slippage, but they also say that mastic is not good to use in a wet area because it can mildew. Honestly if I were doing your job, I would leave the drywall and sand it down, (that is unless you are just talking about a normal light texture, then I would just leave it alone), use mastic and call it a day.
- Q: Hexagonal tiles of side 20cm are used to tile a room that measures 6.25m by 4.85m. Assuming we complete edges by cutting up tiles how many tiles are needed?
- A general rule of thumb is to order 10% more tile than your normal square footage to allow for such cuts, etc.
- Q: For some reason I‘m having a hard time finding a good DIY instruction page on how to remove floor tile. Half of them are about removing just one damaged tile and the rest all have different methods. Some say to place a towel on top of it and smash with something, others have different machines. I‘m not really sure where to start. The space is about 5‘ x 5‘ and the tiles are the tiny kind, like 1 sq. inch each. What tools do I need? Do people usually tile underneath wooden vanities? Will I have to take it up? Help!
- I am assuming the tile is on a wooden sub-floor based on the under the vanity question. If so take a hammer to it. The tiles should come up fairly easily. the hard part is getting the thin set cement underneath to come up. Try a scrapper with a 4 razor blade to get that up. try wetting it first. If it turns out to take too long and you find it difficult to get the thin set up, consider renting a roto-chipping hammer to get it up. It's about $35 a day to rent. If this is an older home, the tile will be in a cement base up to 1 1/2 thick (with a wire mesh) and you'll want to get the rotohammer then. If the tile is on a concrete slab intead of wooden sub-floor get the rotohammer. Hope this helps
- Q: I am in the process of installing a slate floor in my mudroom. The durock has been laid, and the tiles cut and sealed, and I‘m ready to start using the medium set to secure the tiles in place, but as I‘ve never laid slate (or any tile) before, I have some questions. 1. The tiles are in place now how I want them, do I have to take up the tiles row by row before I start mortaring them in place, or can I do 1 or 2 tiles at a time?2. I laid the tiles out starting from the center and working outwards. When I lay the tiles in place do I again start at the center, or do I start from the edges, or doesn‘t it matter?3. What is the best way to prevent lippage? As this is slate there is a good amount of variation. Do I just back butter each tile so that it is as high as the highest tile in the room? How do I manage to do that properly?
- Others might disagree, but here's what I suggest: 1. I take up at least a few rows of tile at a time, carefully stacking them in order. 2. Layout should always be done using a center line. There are options for the installation: - If you carefully snap or draw lines for each row on the Durorock and do not use spacers you can start wherever you want, for example against a far wall so that you don't work your way into a corner. - If you only use a center line and rely upon spacers, then you need to start at the center. Tiles tend to drift from each other slightly when you install using spacers, so if you start in the center and work in both directions the net drift toward the edge will be half as much as it would if you work from one edge all the way to the other. - I always draw lines for each row when I do a diagonal installation. I install the longest row first and the work away from it toward the opposite corners. 3. Once I mix a batch of thinset, I don't want to fuss much with tile thickness. So before I even lay the slate tiles out on the floor I sort them from thickest to thinnest. Individual tiles often vary in thickness from one corner to the other; others might have consistent thickness but be dished (not flat). These tiles are candidates to be cut for edge pieces, or they might not be worth using at all. Anyway, I layout the tiles from thickest on one side of the room to thinnest on the other and only need to butter a thin corner of that occasional irregular tile that is pretty enough to be worth the hassle. 4. See my answer to 2.
Send your message to us
Polished Porcelain Tile Best quality BJ1249
- Ref Price:
-
- Loading Port:
- China main port
- Payment Terms:
- TT OR LC
- Min Order Qty:
- 1 m²
- Supply Capability:
- 100000 m²/month
OKorder Service Pledge
OKorder Financial Service
Similar products

Hot products

Hot Searches

