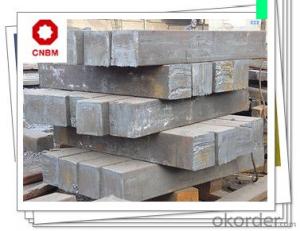


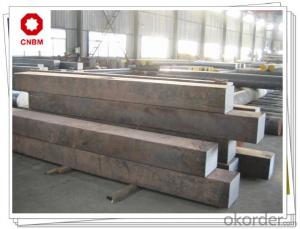

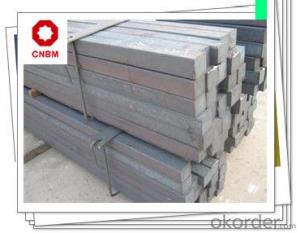
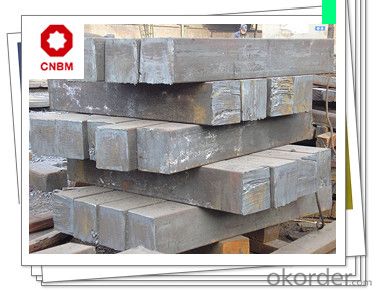


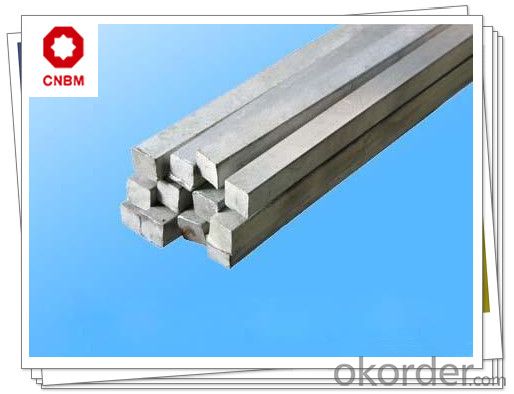
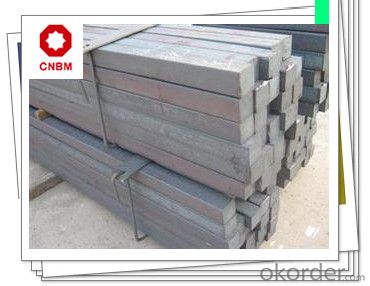
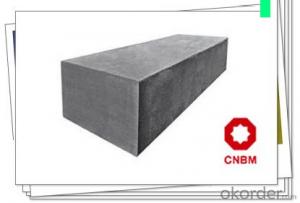
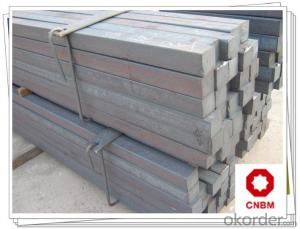
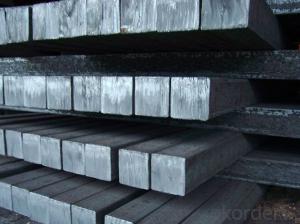
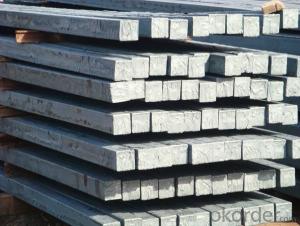
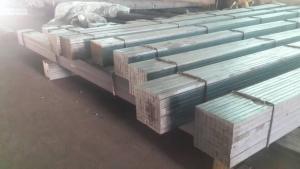
Carbon Structural Steel Square Bars S10C
- Ref Price:
-

- Loading Port:
- Shanghai
- Payment Terms:
- TT OR LC
- Min Order Qty:
- 400 m.t
- Supply Capability:
- 80000 m.t/month
OKorder Service Pledge
Quality Product, Order Online Tracking, Timely Delivery
OKorder Financial Service
Credit Rating, Credit Services, Credit Purchasing
You Might Also Like


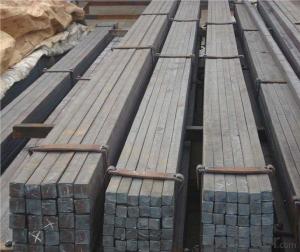


Carbon Structural Steel Square Bars S10C Specification 1, Size: 120*120mm; 130*130mm; 150*150mm; 160*160mm; 200*200mm 2, Length: Max 12m 3, Heat Treatment: Normalizing, Annealing, Tempering, Quenching 4, Surface Treatment: Black, Polished, Galvanized Chemical Composition % Mechanical Properties Strength of Extension Reduction of Area Products Show C Si Mn P S Cr Ni Cu 0.08-0.13 0.15-0.35 0.30-0.60 ≤0.030 ≤0.030 ≤0.20 ≤0.25 ≤0.25 Yield Strength Elogation Hardness ≥335(34) Mpa ≥205(21) Mpa ≥31% ≥55% ≤137HB


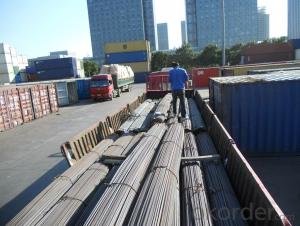
Work Shop

About Us


- Q: How do you use a steel square for marking compound angles?
- To mark compound angles using a steel square, follow these steps: 1. Determine the compound angle you want to mark, which is typically a combination of two angles (a bevel angle and a miter angle). 2. Place your steel square on a flat surface, ensuring proper alignment. 3. Find the bevel angle on the steel square, usually marked on the blade and measured in degrees. 4. Adjust the blade to the desired bevel angle by loosening the locking screw or mechanism, aligning the blade, and then tightening the mechanism. 5. Calculate the miter angle by subtracting the compound angle from 90 degrees (e.g., if the compound angle is 45 degrees, the miter angle is 90 - 45 = 45 degrees). 6. Locate the miter scale on the inside edge of the steel square, marked in degrees from 0 to 90 degrees. 7. Align the desired miter angle on the miter scale with the material's edge, ensuring a secure placement of the steel square against the material. 8. Use a pencil or marker to clearly mark the compound angle on the material. 9. Proceed with cutting or shaping the material according to the marked compound angle, using appropriate tools like a saw or chisel for your specific needs and material. Remember to practice and ensure precision when using a steel square for marking compound angles. Double-check your measurements and alignment before making any cuts or marks.
- Q: Can a steel square be used for checking the flatness of a floor joist?
- No, a steel square cannot be used for checking the flatness of a floor joist.
- Q: How do you use a steel square to measure and mark 326.25-degree angles?
- A steel square cannot directly measure or mark 326.25-degree angles as it typically has markings for 90-degree, 45-degree, and 30-degree angles. To measure or mark a 326.25-degree angle, you would need to use a protractor or a specialized angle measuring tool.
- Q: What are the different uses of a steel square in metalworking?
- A steel square is a versatile tool in metalworking that has various uses. It is commonly used for measuring and marking right angles, as it has a 90-degree angle at one end. It helps in accurately transferring measurements, checking the squareness of corners, and ensuring precise cuts and joints. Additionally, a steel square can be used as a guide for drawing straight lines, determining the center of round objects, and as a makeshift protractor for measuring angles. Overall, it is an essential tool that aids in achieving accuracy and precision in metalworking projects.
- Q: How do you use a steel square to determine the length of a handrail?
- To use a steel square to determine the length of a handrail, you would first measure the height of the railing from the ground to the desired level. Then, using the steel square, you can measure the horizontal distance from the starting point to the ending point of the handrail. By combining the height measurement with the horizontal distance, you can calculate the total length of the handrail accurately.
- Q: How do you read measurements on a steel square?
- To read measurements on a steel square, you first need to understand the different markings and graduations on the tool. A steel square typically consists of two arms, a longer one called the blade and a shorter one called the tongue, forming a 90-degree angle. On the blade, you will find a series of markings and numbers. These are usually in inches or centimeters and represent the length of the blade. The numbers start from 0 at the point where the blade and tongue meet and increase as you move towards the outer edge of the blade. The tongue of the steel square usually has a scale marked in inches or centimeters as well. This scale is used for taking measurements perpendicular to the edge of the blade. Similar to the blade, the numbers on the tongue start from 0 at the intersection and increase as you move towards the outer edge. To read measurements, align the desired point on the object you are measuring with the intersection of the blade and tongue. Then, observe the markings on the blade or tongue that correspond to the length or width you are measuring. For example, if you want to measure a length of 4 inches, locate the number 4 on either the blade or the tongue and note the corresponding point on the object. In addition to these basic measurements, steel squares may also have additional markings or features to aid in various tasks, such as finding angles or determining roof pitches. Familiarizing yourself with these additional markings can greatly enhance the versatility of the tool. Overall, reading measurements on a steel square involves understanding the markings and graduations on the blade and tongue, aligning the tool with the object being measured, and noting the corresponding numbers to determine the length or width.
- Q: Can a steel square be used for measuring angles other than right angles?
- No, a steel square is specifically designed for measuring right angles and cannot accurately measure angles other than right angles.
- Q: How do you use a steel square to measure and mark 30-degree angles?
- To use a steel square to measure and mark 30-degree angles, you can align the 45-degree line on the square with the desired angle line, and then mark a point at the intersection of the square's edge and the angle line.
- Q: How do you use a steel square to measure and mark 67.5-degree angles?
- To effectively measure and mark 67.5-degree angles using a steel square, the following steps can be followed: 1. Ensure the steel square is placed on a flat surface or workbench, making sure it is properly aligned and not tilted. 2. Identify the 45-degree angle on the steel square, which is formed by the square's perpendicular edges. 3. Align one of the edges of the steel square with the edge of the material you wish to mark or measure. 4. Utilize a pencil or marking tool to mark the material where the edge of the steel square intersects with it. 5. Proceed to locate the 22.5-degree mark on the steel square, positioned halfway between the 45-degree angle and the square's right angle (90 degrees). 6. Align the edge of the steel square with the mark made in step 4. 7. Firmly hold the steel square in place, ensuring it remains stationary. 8. Use a pencil or marking tool to mark the material where the edge of the steel square intersects with it. 9. The marks made in steps 4 and 8 should form a 67.5-degree angle. 10. Connect the two marks with a straight line or employ a protractor to verify the angle measurement. By adhering to these instructions, one can effectively employ a steel square for measuring and marking 67.5-degree angles.
- Q: Can a steel square be used for welding projects?
- Yes, a steel square can be used for welding projects. A steel square is a versatile tool that can be used for various tasks in welding, such as measuring and marking angles, checking squareness, and ensuring accurate weld joint alignment.
Send your message to us
Carbon Structural Steel Square Bars S10C
- Ref Price:
-
- Loading Port:
- Shanghai
- Payment Terms:
- TT OR LC
- Min Order Qty:
- 400 m.t
- Supply Capability:
- 80000 m.t/month
OKorder Service Pledge
Quality Product, Order Online Tracking, Timely Delivery
OKorder Financial Service
Credit Rating, Credit Services, Credit Purchasing
Similar products


Hot products


Hot Searches
Related keywords

