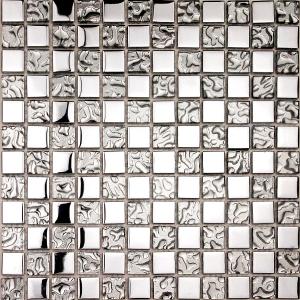
Glass mosaic GM1505
- Ref Price:
-

- Loading Port:
- Guangzhou
- Payment Terms:
- TT OR LC
- Min Order Qty:
- -
- Supply Capability:
- 10000 m²/month
OKorder Service Pledge
OKorder Financial Service
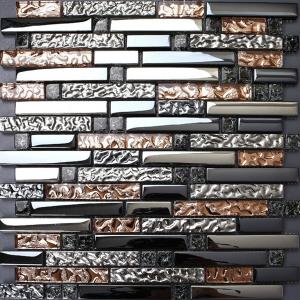
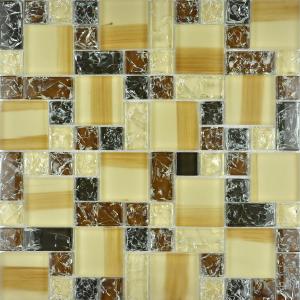
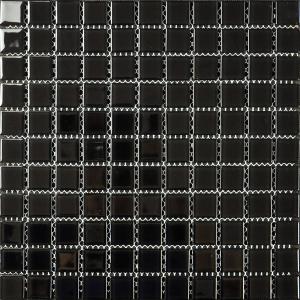
You Might Also Like

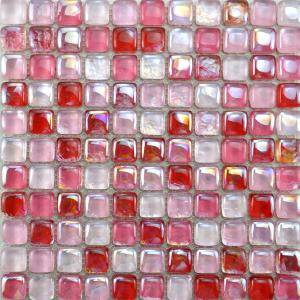
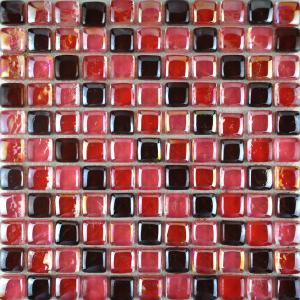

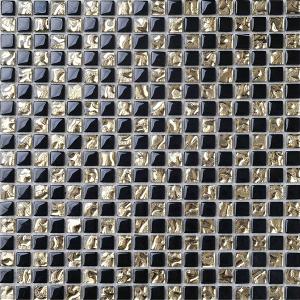
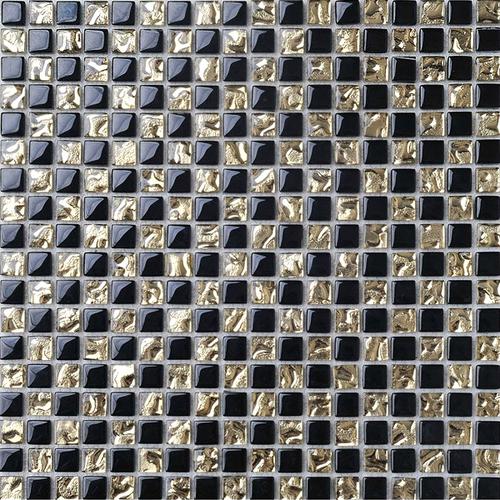
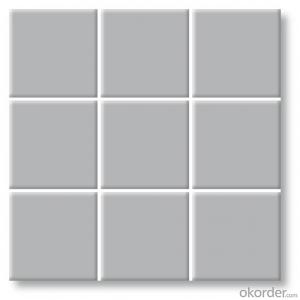
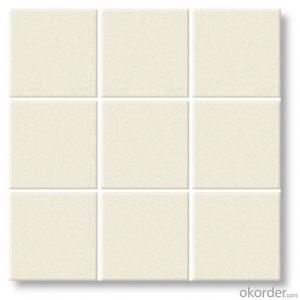
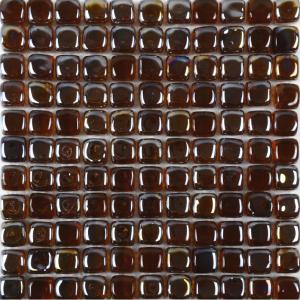
[ Item No ] : GM1505
[ Sheet size ] : 300x300mm
[ Chip size ] : 15x15mm
[ Thickness ] : 8mm
[ Material ] : Glass [ Provenance ] : Foshan
1. Beginning at the intersection of the horizontal and vertical lines, apply the recommended adhesive in one quadrant. Spread it outward evenly with a notched trowel. Lay down only as much adhesive as you can cover in 10-15 minutes.
2. Stabilize a sheet of tile by randomly inserting three or four plastic spacers into the open joints.
3. Pick up diagonally opposite corners of the square and move it to the intersection of the horizontal and vertical reference lines. Align the sides with the reference lines and gently press one corner into place on the adhesive. Slowly lower the opposite corner, making sure the sides remain square with the reference lines. Massage the sheet into the adhesive, being careful not to press too hard or twist the sheet out of position. Continue setting tile, filling in one square area after another.
4. When two or three sheets are in place, lay a scrap of 2x4 wrapped in carpet across them and tap it with a rubber mallet to set the fabric mesh into the adhesive and force out any trapped air.
5. When you’ve tiled up close to the wall or another boundary, lay a full mosaic sheet into position and mark it for trimming. If you’ve planned well and are installing small-tile mosaics, you can often avoid cutting tiles.
6. If you do need to cut tiles in the mosaic sheet, and not just the backing, score the tiles with a tile cutter. Be sure the tiles are still attached to the backing. Add spacers between the individual tiles to prevent them from shifting as you score.
7. After you’ve scored the tiles, cut them each individually with a pair of tile nippers.
8. Set tile in the remaining quadrants. Let the adhesive cure according to the manufacturer’s instructions. Remove spacers with a needlenose plier. Mix a batch of grout and fill the joints. Allow the grout to dry, according to manufacturer’s instructions.
9. Mosaic tile has a much higher ratio of grout to tile than larger tiles do, so it is especially important to seal the grout with a quality sealer after it has cured.


Send your message to us
Glass mosaic GM1505
- Ref Price:
-
- Loading Port:
- Guangzhou
- Payment Terms:
- TT OR LC
- Min Order Qty:
- -
- Supply Capability:
- 10000 m²/month
OKorder Service Pledge
OKorder Financial Service
Similar products
Hot products
Hot Searches
Related keywords

