Hot-Dip Galvanized And Pvc Coated Chain Link Fence
- Ref Price:
-

- Loading Port:
- Tianjin
- Payment Terms:
- TT OR LC
- Min Order Qty:
- 5 m.t.
- Supply Capability:
- 100 m.t./month
OKorder Service Pledge
OKorder Financial Service
You Might Also Like
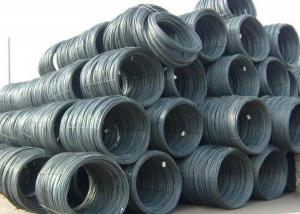
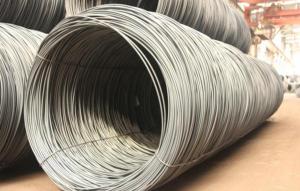
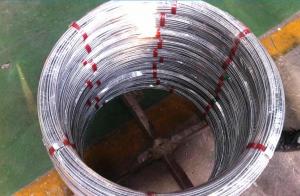
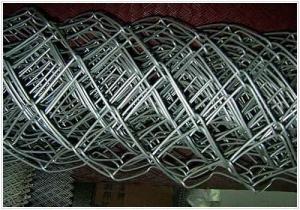
Features of Chain Link Fence:
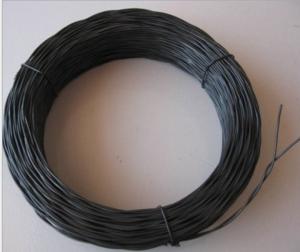
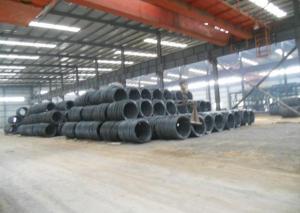
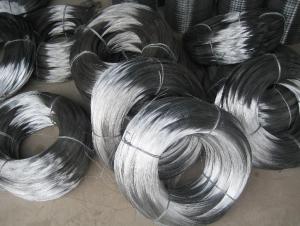
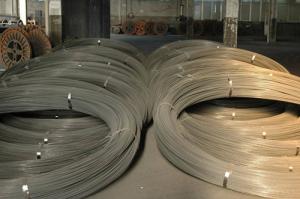
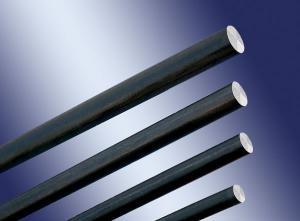
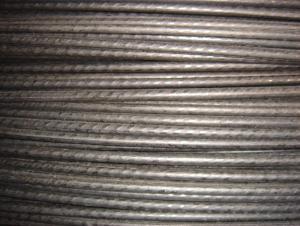
- Materials: Low carbon steel wire, Stainless steel wire, Aluminum alloy wire.
- Surface Treatment: Electro galvanized, Hot-dipped galvanized, Galva.+ PVC coated.
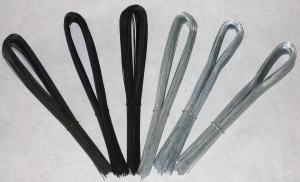
- Edge Style: Twisted barb edge, Closed edge.
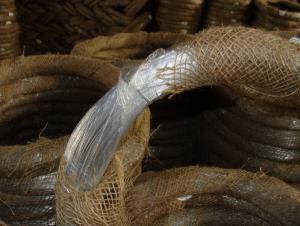
- Packing: Wrap up both edges with woven bag, or with Pallet, or as customer's request.
- Application: Sports field, River banks, Construction and residence, also animal fencing.
- Advantages of Chain Link Fence:
1) Low carbon steel diamond mesh has a heavy galvanized coating to ensure a long life
2) Use for High security building: Airport ,Farm land,Sport field,Prison and so on
3) It can offset force,so it is widly use for sports field
4) Chain link wire mesh is separable,you can adjust the length as you need
5) The height can be up to 7m
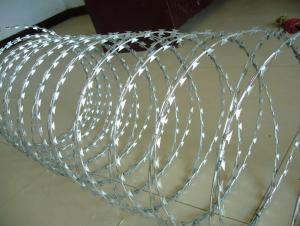
6) It is more security to add some razor barbed wire or barbed wire on the top
7) beautiful diamond mesh:different colors for choose
8) easy to install .
- Specifications of Chain Link Fence:
| Mesh Opening | 1''- 4''(25mm-100mm), popular: 50x50mm |
| Wire Diameter | 18#-7#(1.2mm - 4.5mm), popular: 2.5mm, 3mm, 3.5mm |
| Roll Width | 0.5m - 5m, popular: 1.5m, 1.8m, 2m, 2.5m, 3.6m |
| Roll Length | 1m - 50m, popular: 10m, 15m, 25m |
| Specifications can be made according to your requirements |
- Q:Given following setup of three wires in the plane of the page with I1 = 1.3 A (to the right), I2 = 3.4 A (to the right), I3 = 4.5 A(to the left) and each wire is separated by 3 m.I'm completely lost, I need to..1. What is the direction of the magnetic field at wire 3 due to wires 1 and 2?2. What is the direction of the force on wire 3 due to wires 1 and 2?Any help would really be appreciated! Thanks!
- I assume that those wires are sitting parallel 3 m apart from one another. 1. The magnetic field around a wire forms concentric circles around the wire. Wire 1 and Wire 3 are parallel so when you draw a concentric field line around Wire 1 with radius 6 m, you get a magnetic field line passing Wire 3 at a right angle. And a concentric field line around Wire 2 with radius 3 m passes Wire 3 at a right angle. Both magnetic fields have the same direction because the current in both wires flows in the same direction (to the right). Using the right-hand rule, you can find that the magnetic field at wire 3 due to Wire 1 and Wire 2 goes into the page. Ans: Into the page 2. The force on a wire can be calculated in the following manner: I X B * L. Here I is the current on Wire 3, B is the magnetic field due to Wire 1 and Wire 2, L is the length of Wire 3, and X is the cross product operator. So I cross B would give the direction of the force. Now use the right-hand rule, I cross B will give the force direction pointing down. This means the force due to the magnetic field would repel Wire 3 from Wire 1 and Wire 2. Ans: The force on Wire 3 due to Wire 1 and Wire 2 would repel Wire 3 from them.
- Q:My dog chewed the wiring and i dont know how to re-connect
- Lets see, if your dog chewed the wires, he probably did it right at the valves. Here's what you do (depending on how many valves you have) 1. Each valve solenoid has 2 wires coming out of it. Grab one (of the 2- it doesn't matter which) wire from each valve and twist them together. Call this the COMMON wire (usually white). 2. Go to the clock/timer/controller and look to see where the wires are connected. Check to see which color wire is deginated as the COMMON wire (or doesn't have a station number designation) 3. Once you find out which wie is the common, go back to the valves and twist this wire onto your BUNDLE with a wire nut. 4. Connect the remaining wires at each valve to any corresponding wire (on the other end). Make sure that you eventually solidify these connections with waterproof wire connectors. 5. Check the stations at the clock, running individual stations and making sure the correct run-times correspond to the valve assignments- adjust or flip wires at the clock instead of switching wires at the valves.
- Q:Im cleaning up some of the wires in the engine bay and getting rid of ones i dont use. Right now theresthe pos side bat post runs down to the starter. From the starter there is a thicker wire and a skinny wire. In the thicker wire there is a wire that goes to the post on alternator. Both wires from starter run over to a relay maybe ithas a stud sticking out and has a wire that goes from the bottom of it to the fuse box. Im in middle of relocating the battery into the trunk so what wires can i eliminate and what wires have to go,to the battery?
- All these wires were put there for a purpose. Best if you left it all alone (including leaving the battery up front)
- Q:I am re wiring a hanging lamp. I know the black wire is the hot. My problem is this, the replacement wire is gold. There is no apparent groove in the wire, but one side does have writing on it. If I remember correctly the side with the writing is the hot?
- Good that you asked. Polarity on alternating circuits does matter. The side of the wire with a little ridge on it is the neutral side and goes to the white screw on the lamp socket. The other wire is the hot and goes to the center pin. Wired reverse of this the light will still turn off with the switch, but you will still have power at the screw shell on the socket. This is how folks get shocked when changing a bulb even though the switch is off. Same with appliances. You think it is safe to open them and look around inside because the switch is off, but power is still present through the internal workings all the way back to the switch. Trust me on that! All electrical circuits, be they AC or DC are a loop. Break that loop anywhere along the way and it ceases to work. Not understanding this simple fact is why so many folks have trouble fixing electrical circuits. It is especially true with trailer lights. But that's another subject.
- Q:i just got guitar hero 3 and i want to buy another guitar contoller for the xbox 360 but my mom only wants to buy the wired one because it is cheaper is there anything wrong with the wired one and should i get it or not since i will be playing it with my brother. also how long will the wire be.
- There's nothing wrong with the wired controller, but once you get used to the wireless one, the wired one feels a little bit weird. The wireless one has smooth fret buttons that feel nice, and the strum bar doesn't click as much. Also the body is thinner and smaller, making is more comfortable. The wire for the wired controller is 8 feet I believe.
- Q:I have two low voltage wires that run from one side of a building to another. The insulation on both wires is the same color. I eventually just walked an additional wire around the building and checked continuity. Is there an easier way to differentiate between the two wires?
- i think i get what your saying if for example your running 3 black wires (the insulation is black)and each one is for example a line or hot wire i would take different colored tape and color code each one on each end it eliminates having to ring them out RING =continuity
- Q:I know I am suppose to run the RCA cables and power cables on opposite sides of the car, but which side do I put the speaker wires on, ps I have an amp so I'll be running the wires from my trunk
- Red white yes, shouldn't need the toggle. It will turn off with the ignition.
- Q:My boat came with a rule 500 2-wire auto pump. I have an on/off switch at the console. My replacement has 3 wires. How do I connect the 3 wires and still use my on/off switch?
- It all depends on the function of the third wire. The instructions that came with the pump should tell you what it's for. If you're only using the pump with the switch you only need to apply 12V and a return to the pump. The switch could be in either leg, but will normally be in the +12V leg. The third wire could be an earth ground for safety or you might have a built in float switch so that you can apply 12V directly to that 3rd wire. When the internal float switch goes high enough it will turn on the bilge pump for you. Your best bet is still to read the instructions before you install it though...
- Q:hi i was wondering if its possible to electrify chicken wire? i have chickens in some fields and they keep wondering and chicken wire is alot cheaper than buying proper electric fencing??
- It would be difficult to do. First you would have to insulate the fence wire from the ground. That means it could not be touching the posts. Next you would need a fence charger, a power supply if it is not battery operated, and a ground rod. It is not as simple as hooking a wire to the fence.
- Q:Need ro know where to put the wires correctly
- Hire an electrician!
1. Manufacturer Overview |
|
|---|---|
| Location | |
| Year Established | |
| Annual Output Value | |
| Main Markets | |
| Company Certifications | |
2. Manufacturer Certificates |
|
|---|---|
| a) Certification Name | |
| Range | |
| Reference | |
| Validity Period | |
3. Manufacturer Capability |
|
|---|---|
| a)Trade Capacity | |
| Nearest Port | |
| Export Percentage | |
| No.of Employees in Trade Department | |
| Language Spoken: | |
| b)Factory Information | |
| Factory Size: | |
| No. of Production Lines | |
| Contract Manufacturing | |
| Product Price Range | |
Send your message to us
Hot-Dip Galvanized And Pvc Coated Chain Link Fence
- Ref Price:
-
- Loading Port:
- Tianjin
- Payment Terms:
- TT OR LC
- Min Order Qty:
- 5 m.t.
- Supply Capability:
- 100 m.t./month
OKorder Service Pledge
OKorder Financial Service
Similar products
New products

Hot products