All Categories
- - Steel Wire Rod
- - Steel Coils
- - Steel Profiles
- - Steel Pipes
- - Stainless Steel
- - Tinplate
- - Special Steel
- - Steel Sheets
- - Steel Rebars
- - Steel Strips
- - Hot Rolled Steel
- - Cold Rolled Steel
- - Pre-painted Steel
- - Seamless Steel Pipe
- - Welded Steel Pipe
- - Hollow Steel Tubes
- - Galvanized Pipe
- - Stainless Steel Coil
- - Stainless Steel Sheet
- - Stainless Steel Plate
- - Stainless Steel Strips
- - Electrolytic Tinplate Coil
- - Electrolytic Tinplate Sheet
- - Stainless Steel Rebars
- - Solar Panels
- - Solar Water Heater
- - Solar Related Products
- - Solar Inverter
- - Solar Cells
- - Solar Light
- - Solar Energy Systems
- - Solar Controllers
- - Solar Mounting System
- - Solar Pump
- - Solar Chargers
- - Fiberglass Chopped Strand
- - Fiberglass Mesh Cloth
- - Composite Pipes
- - FRP Pultrusion Profiles
- - Fiberglass Mat Tissue
- - Fiberglass Fabrics
- - Fiberglass Mesh
- - Composite Tank
- - Fiberglass Mesh tape
- - Polymer
- - FRP Roofing Panel
- - Fiberglass Roving
- - Monolithic Refractories
- - Ceramic Fiber Products
- - Refractory Bricks
- - Raw Materials For Refractory
- - Suspended Platform
- - Cranes
- - Concrete Machinery
- - Earthmoving Machinery
- - Building Hoist
- - Road Building Machinery
- - Plastic Pipe Fittings
- - Plastic Tubes
- - Plastic Sheets
- - Agricultural Plastic Products
- - Plastic Nets
 All Categories
Q & A
Can a solar controller be used with a solar-powered bus shelter?
Yes, a solar controller can be used with a solar-powered bus shelter. A solar controller regulates the charging and discharging of the batteries in a solar power system, ensuring optimal performance and longevity. In the case of a solar-powered bus shelter, the solar controller would manage the charging of batteries during daylight hours and distribute the stored energy to power the shelter's lighting, information displays, or other electrical components as needed.
Can a solar controller be used with solar panels in an off-grid air conditioner?
Yes, a solar controller can be used with solar panels in an off-grid air conditioner. A solar controller regulates the charging and discharging of batteries connected to the solar panels, ensuring efficient power management. This is crucial for an off-grid air conditioner as it allows for proper utilization of solar energy and prevents overcharging or undercharging of the batteries.
How do I ensure proper grounding for my solar controller?
To ensure proper grounding for your solar controller, you should follow these steps:
1. Locate a suitable grounding point: Look for a solid metal structure or grounding rod near the solar controller. It should be securely connected to the earth and free from rust or corrosion.
2. Use appropriate grounding wire: Select a copper wire with the correct gauge size recommended by the solar controller manufacturer. This wire will provide a low-resistance path for electrical current to flow into the ground.
3. Connect the grounding wire: Attach one end of the grounding wire to the grounding point you identified in step 1. Use a clamp or other appropriate connectors to ensure a secure and reliable connection.
4. Connect the other end of the grounding wire to the solar controller: Locate the designated grounding terminal on the solar controller and securely attach the other end of the grounding wire to it. Follow the manufacturer's instructions for proper connection.
5. Verify the grounding: Once the grounding wire is properly connected, use a multimeter to check the resistance between the solar controller's grounding terminal and the grounding point. The resistance value should be close to zero ohms, indicating a good grounding connection.
By following these steps, you can ensure proper grounding for your solar controller, which will help protect against electrical faults and ensure the safe operation of your solar system.
Can a solar controller be used with a generator as a backup power source?
Yes, a solar controller can be used with a generator as a backup power source. The solar controller helps regulate the charging of batteries from solar panels, and when a generator is used, it can still manage the power flow to the batteries, ensuring efficient charging and utilization of the backup power source.
How do I program a solar controller?
To program a solar controller, you would typically follow these steps:
1. Familiarize yourself with the user manual: Start by reading the user manual provided by the manufacturer of your specific solar controller. It will contain detailed instructions on how to program and configure your controller.
2. Connect the controller: Connect the solar controller to your computer using the provided USB cable or any other appropriate communication interface.
3. Install the required software: Install the software provided by the manufacturer, which is usually available for download on their website. This software will allow you to access and program the controller.
4. Launch the software: Open the software on your computer to establish a connection with the solar controller.
5. Customize settings: Within the software, you will find various settings and parameters that can be programmed according to your specific requirements. These can include battery type, charging modes, voltage thresholds, load control settings, and more. Adjust these settings based on your desired charging and power management preferences.
6. Save and apply changes: After making the necessary adjustments, save the changes within the software and apply them to the solar controller. This will ensure that the programmed settings are stored and implemented by the controller.
7. Monitor and fine-tune: Regularly monitor the performance of your solar controller and its connected components. If needed, make further adjustments to the settings based on the system's behavior, environmental conditions, or any changes in your energy needs.
Remember, the process may vary slightly depending on the brand and model of your solar controller, so always refer to the manufacturer's documentation for specific instructions.
Wholesale Solar Controllers from supplier in Sudan
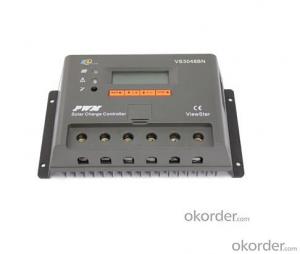
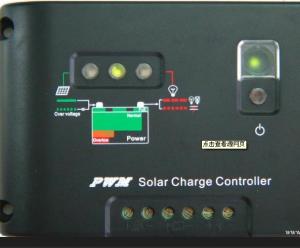
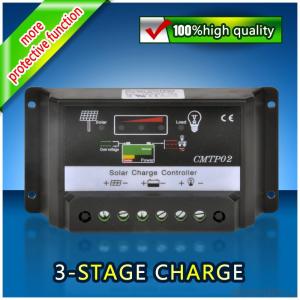
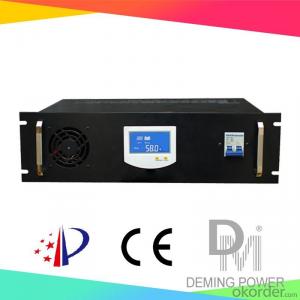
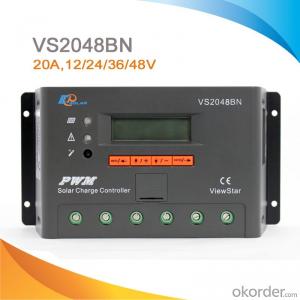
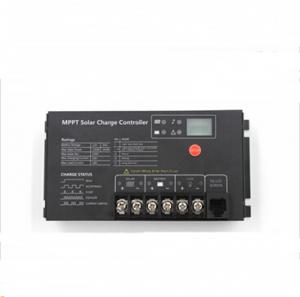
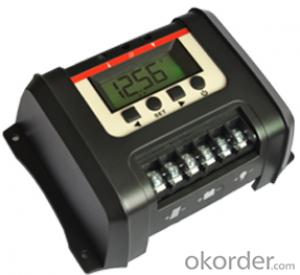
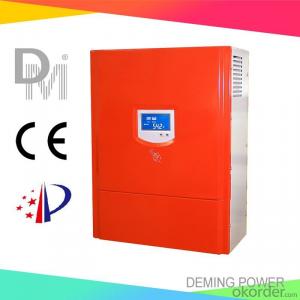
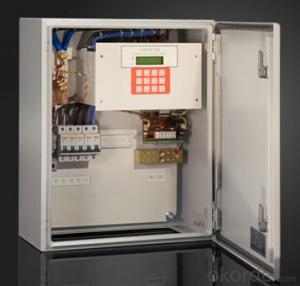
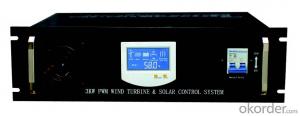
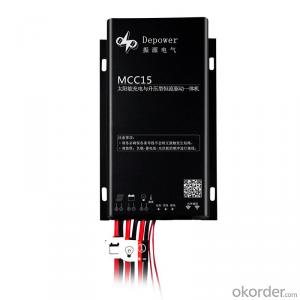
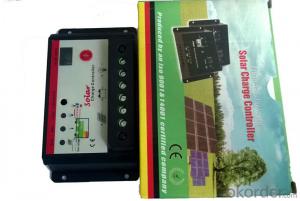
With our Solar Controllers, you can effectively manage and optimize the power output of your solar panels, ensuring maximum efficiency and cost-effectiveness. Our controllers are designed to withstand harsh weather conditions and provide reliable performance in the challenging Sudanese climate.
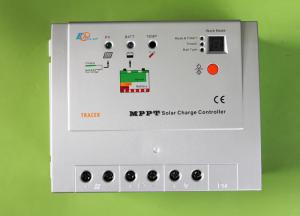
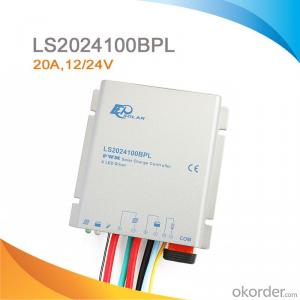
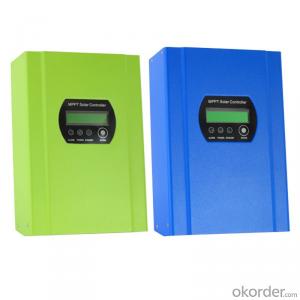
Whether you are looking for a simple PWM controller or a more advanced MPPT controller, we have the right solution for you. Our controllers are easy to install and use, and come with a range of features such as temperature compensation, battery protection, and LCD displays for monitoring and control.
In addition to our product offerings, we also provide comprehensive after-sales support and technical assistance. Our team of experts is always ready to help you with any queries or issues you may have, ensuring a smooth and hassle-free experience.
At CNBM, we are committed to sustainability and promoting renewable energy solutions. By choosing our Solar Controllers, you are not only investing in a reliable and high-quality product, but also contributing to a greener and more sustainable future.
Contact us today to learn more about our Solar Controllers and how we can assist you in your solar projects in Sudan. Let us be your trusted partner for all your solar controller needs.
